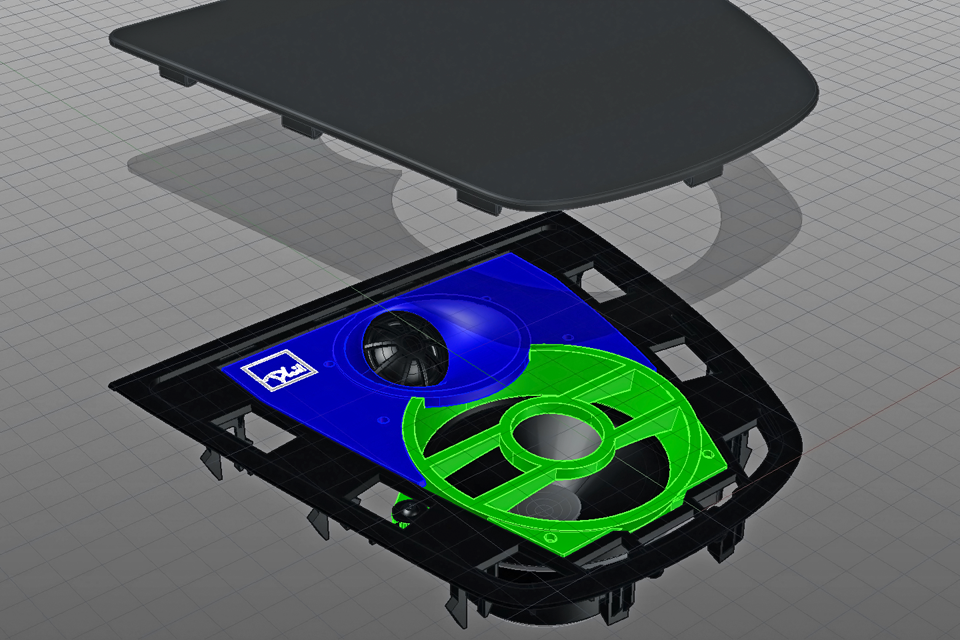
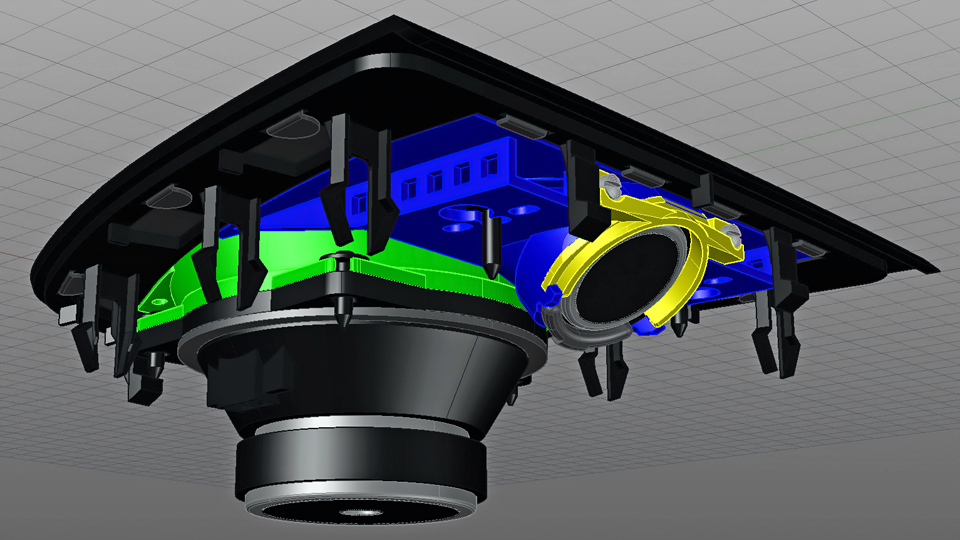
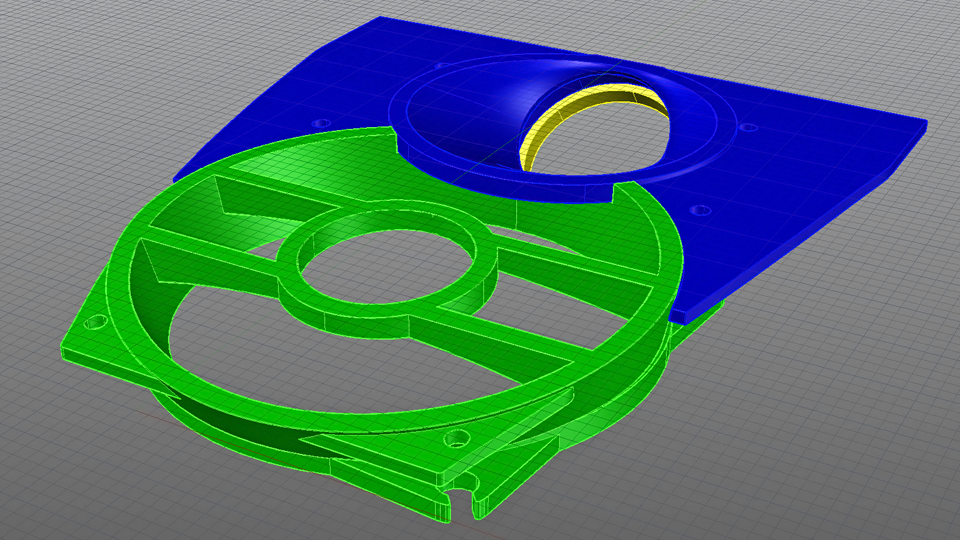
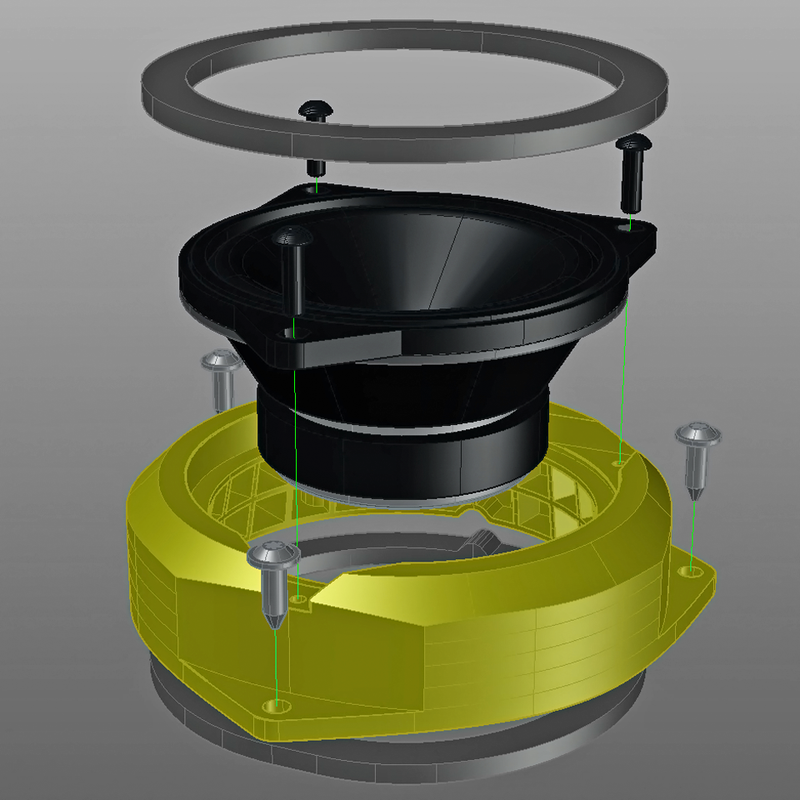
Another vehicle… another build/install log lol. This X5 F15 one is a newer version of my previous X5 E70 vehicle… so, some parts from there work here too (recycled/reuse my own gear). It took over a year to get these installed 
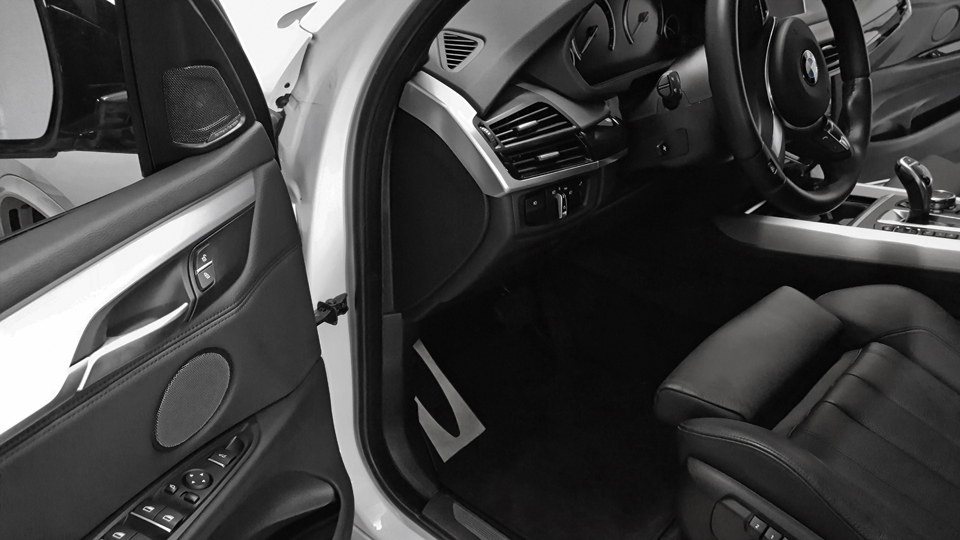
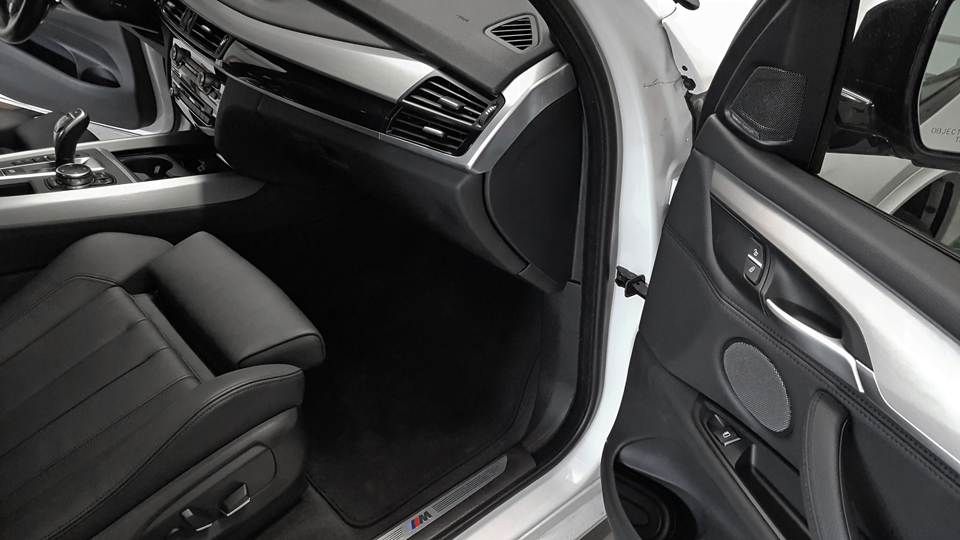
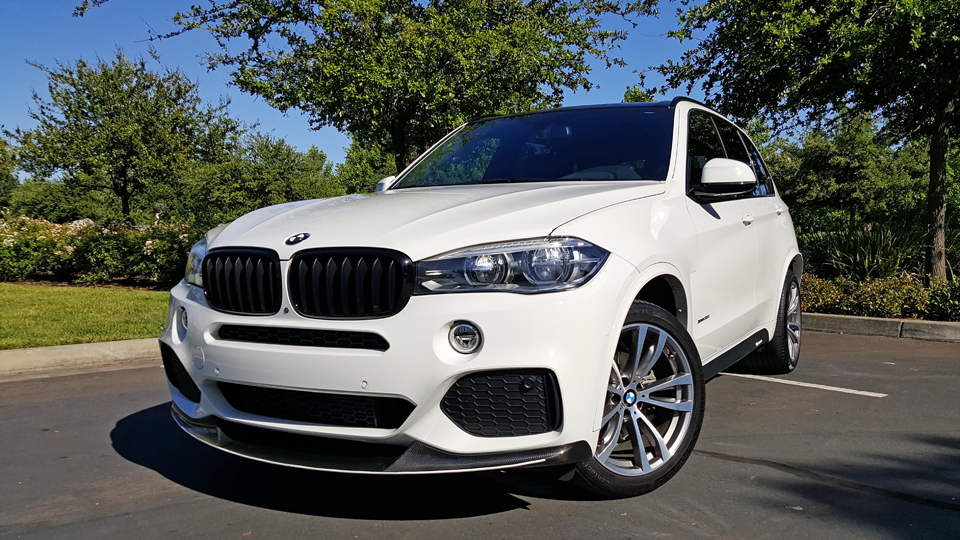
Here’s two recent photos of the vehicle. Has plenty of features. The dealer also installed the MPPK (tune) and MPE (exhaust) sometime ago.
![Image]()
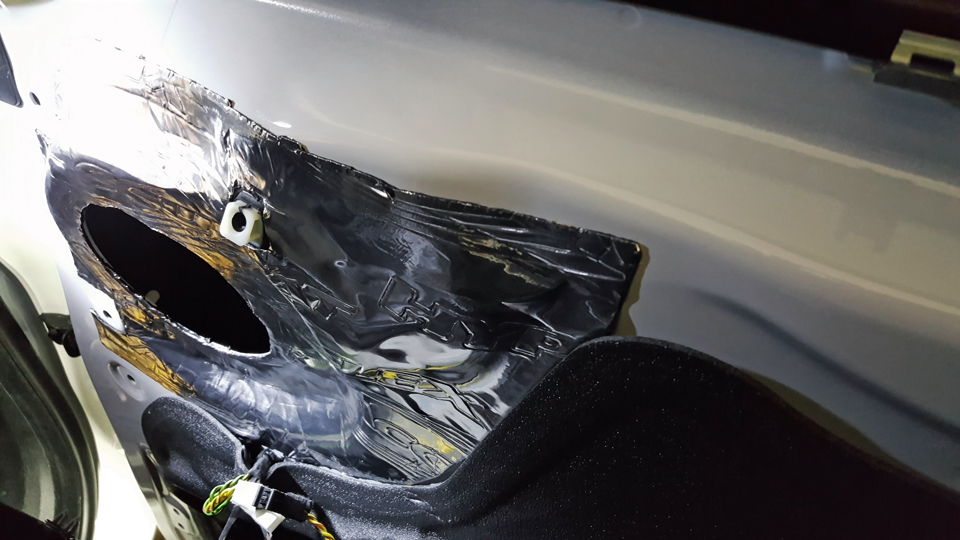
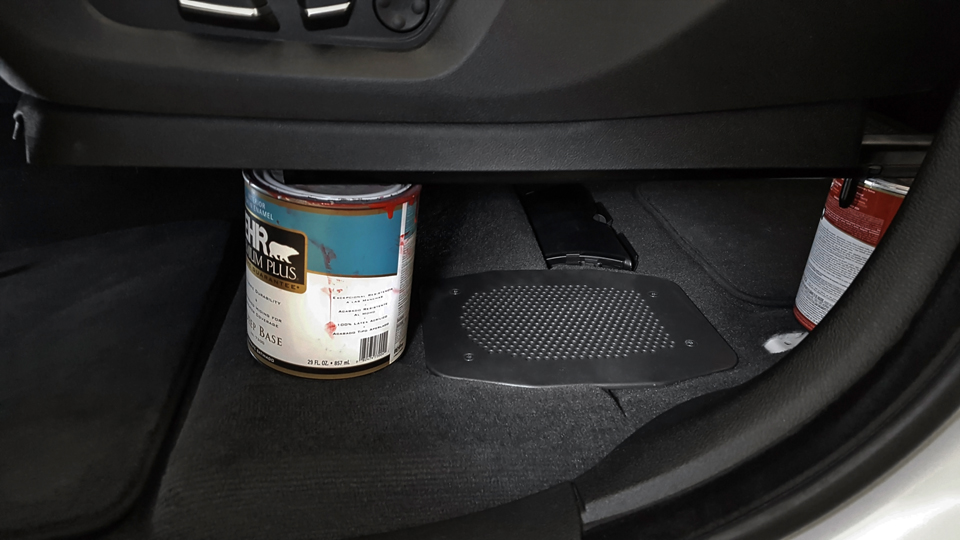
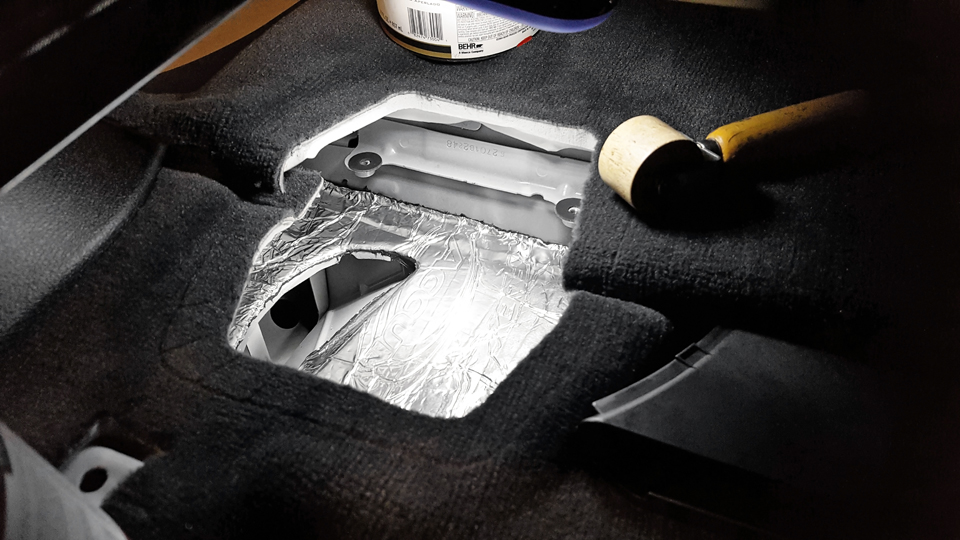
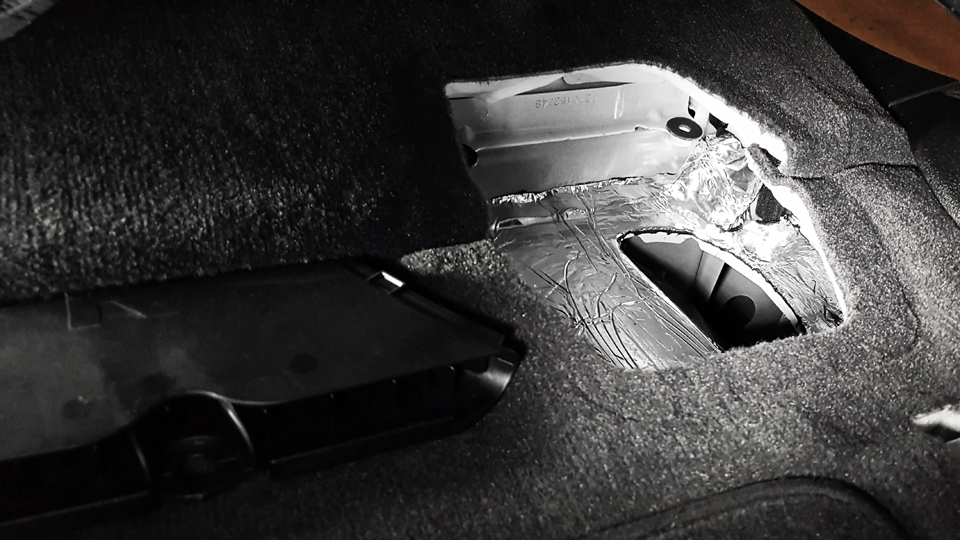
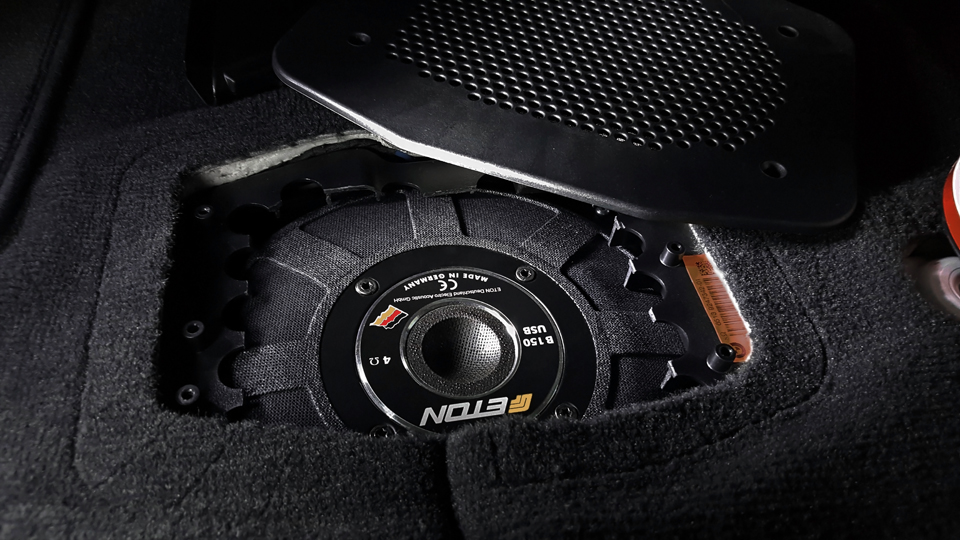
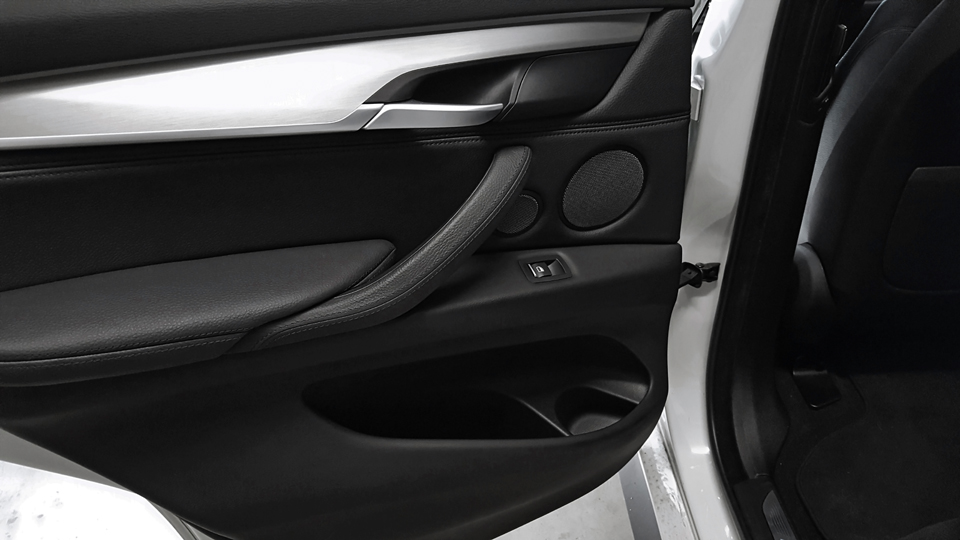
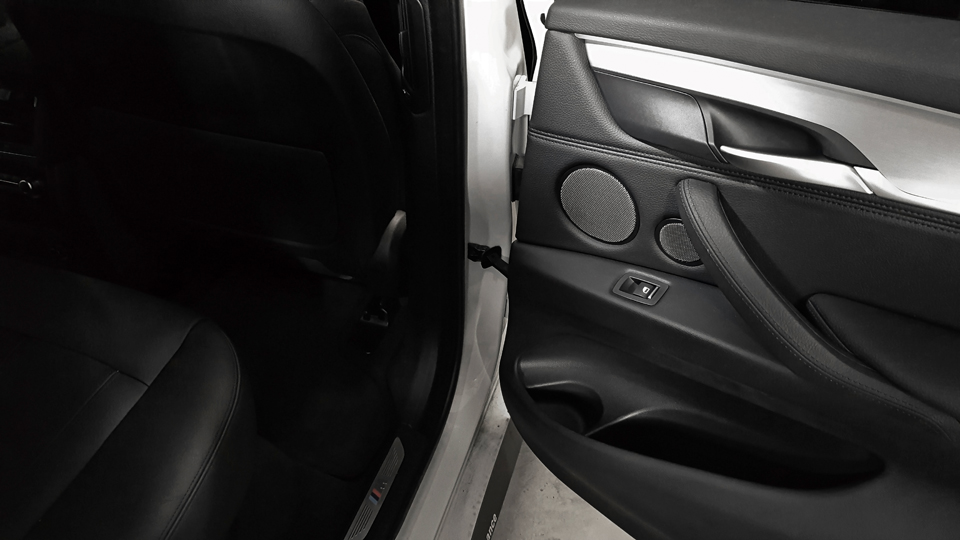
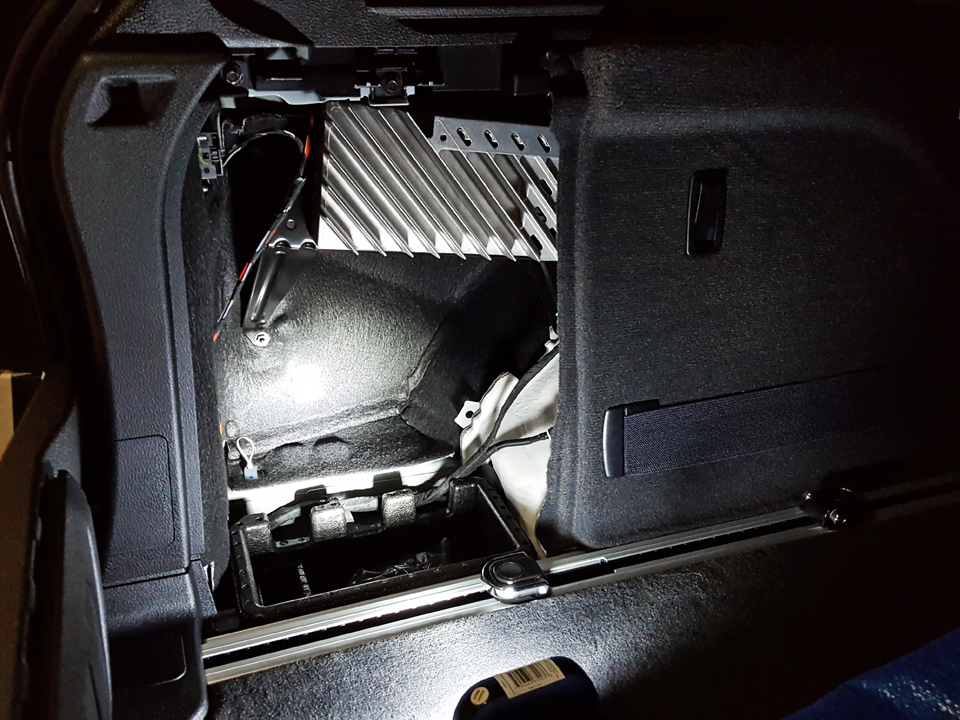
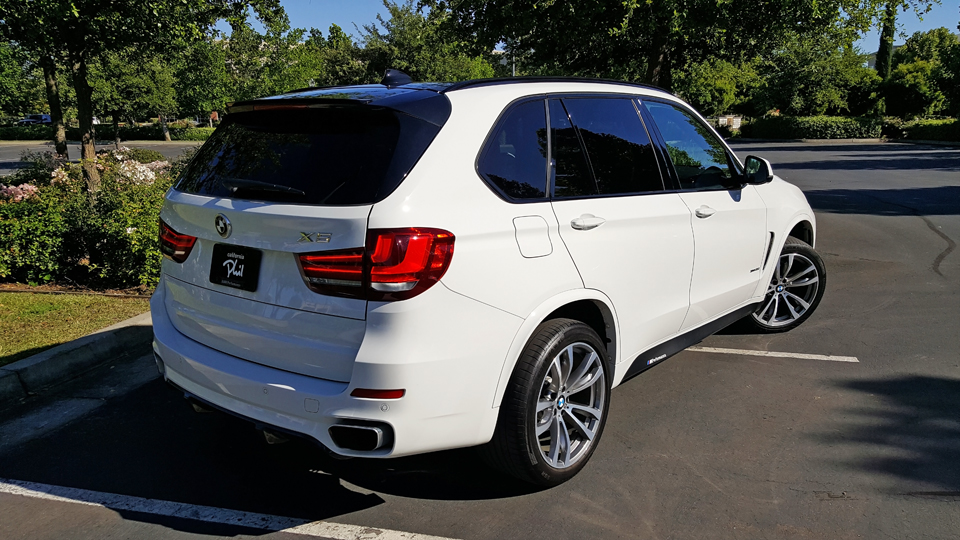
This is the picture of the rear with all the stereo parts installed. The rear suspension didn’t sag because it has the Adaptive M suspension with rear air bags and self-levelling.
![Image]()
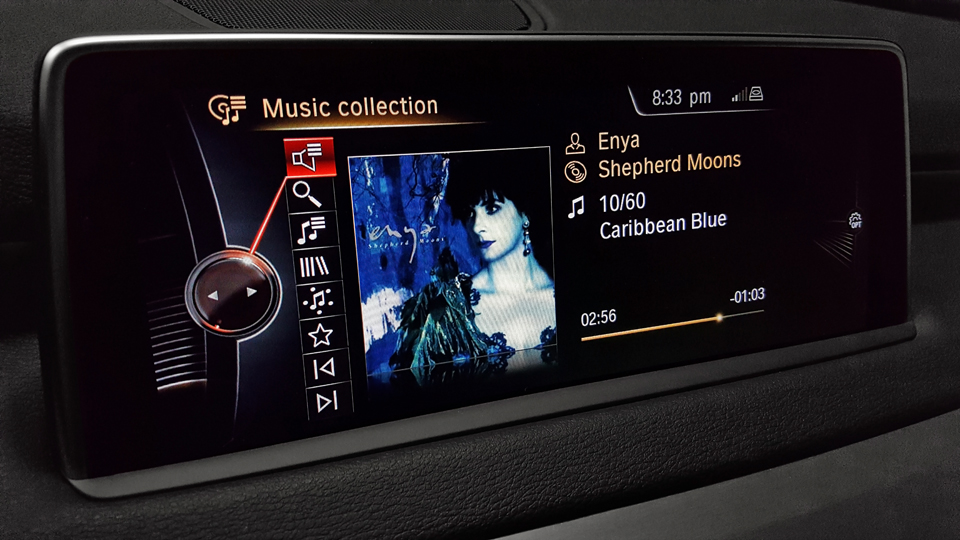
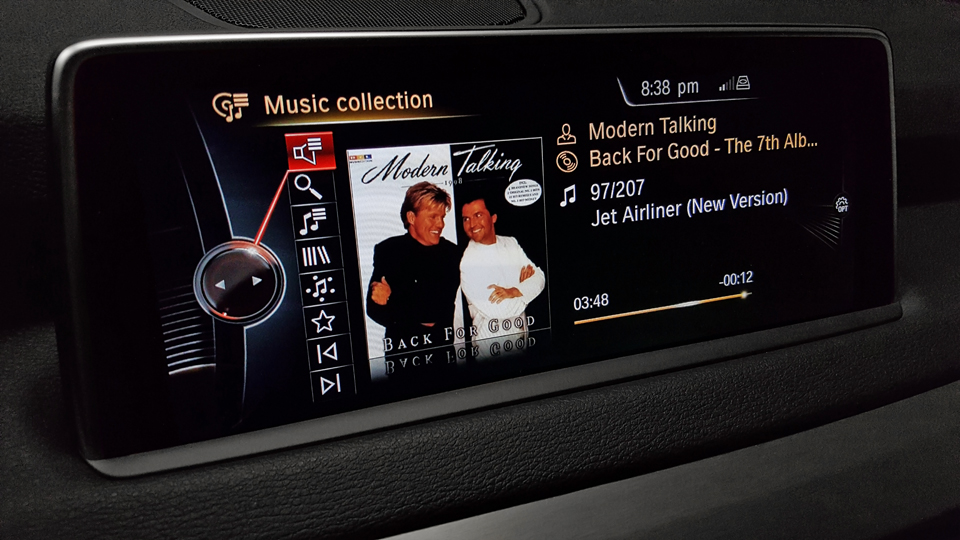
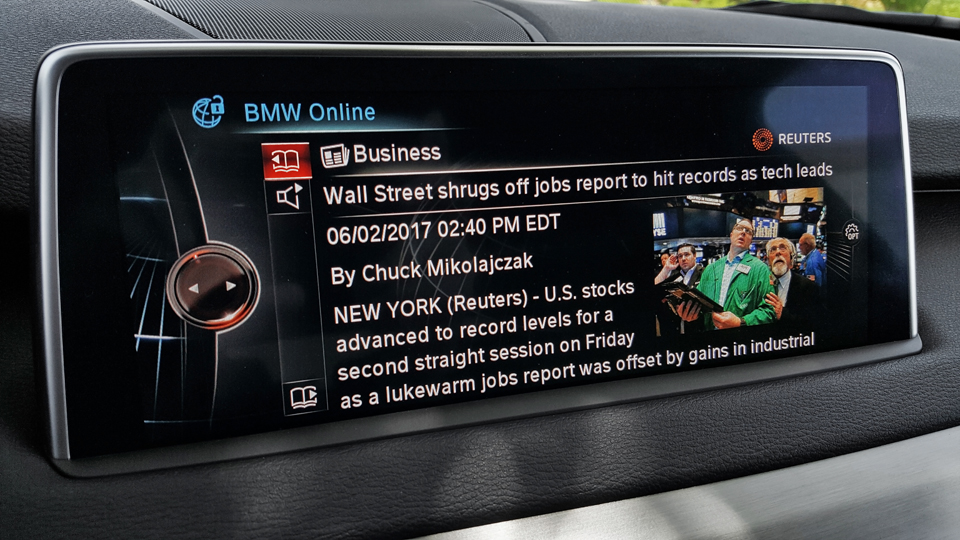
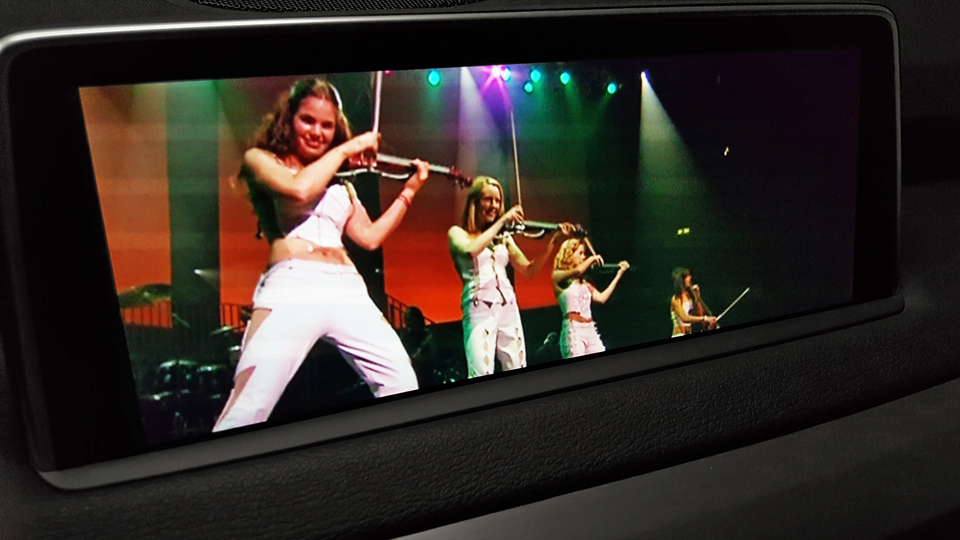
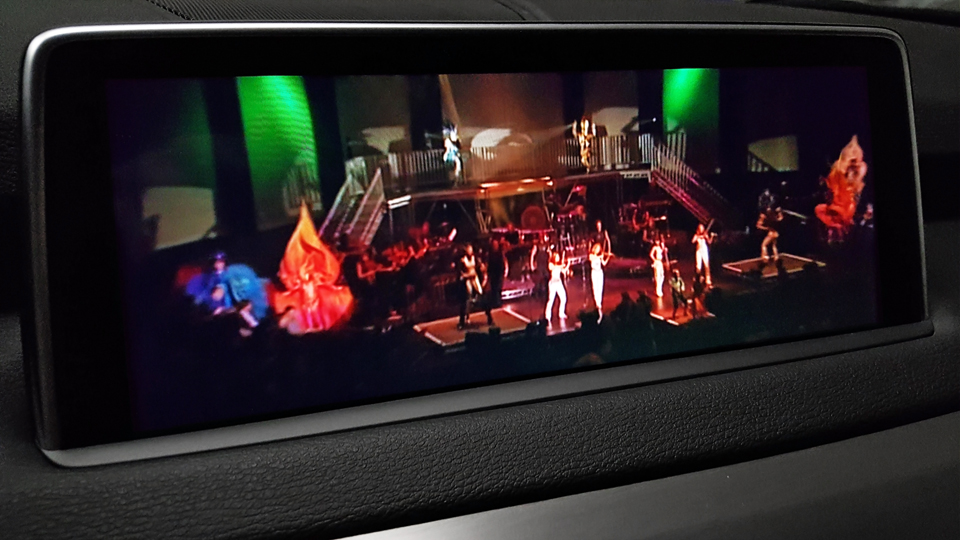
Here are just some random pictures of the screen/display. We can get navigation, music, video, internet news, sports gauges, etc on it.
![Image]()
![Image]()
![Image]()
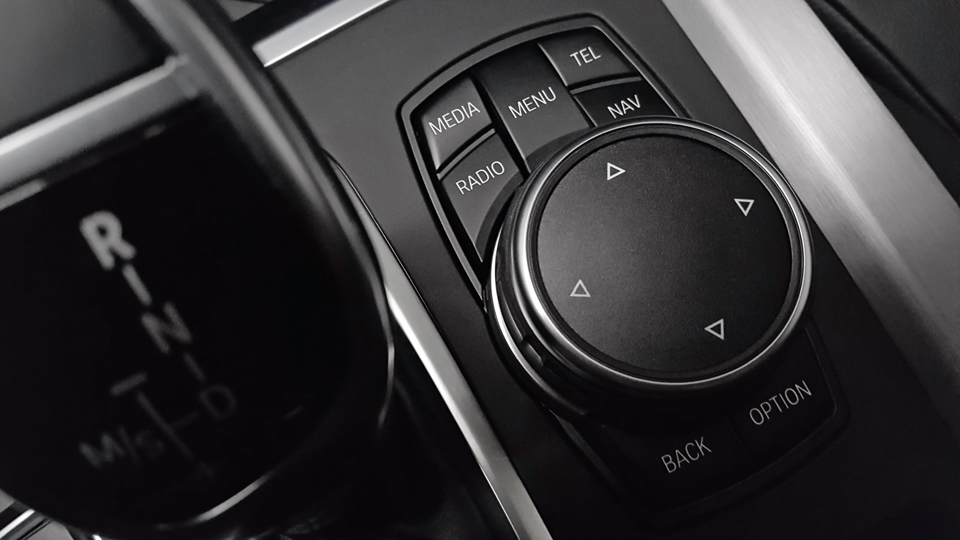
The big knob on the center console is to pick the features or audio/video tracks…
![Image]()
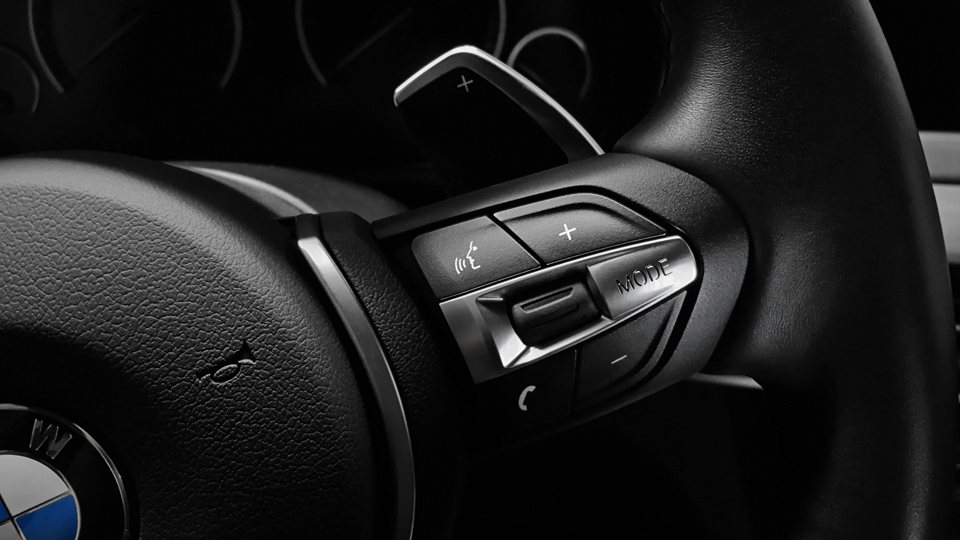
The steering wheel has some controls for the stereo too (no big deal).
![Image]()
This one is interesting … when we use the steering wheel controls, the audio stuff is projected on the windshield (head-up display). Normally we just see the speed/navigation info there.
![Image]()
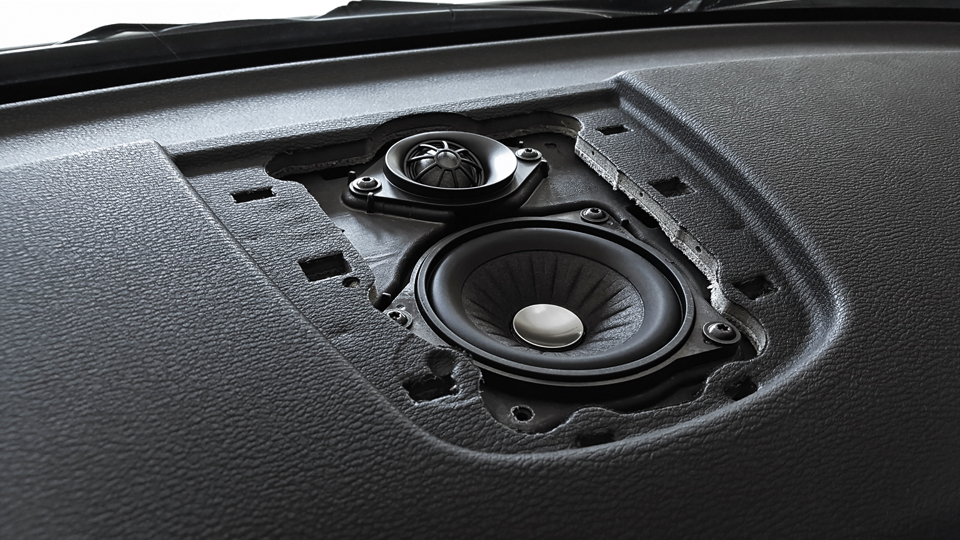
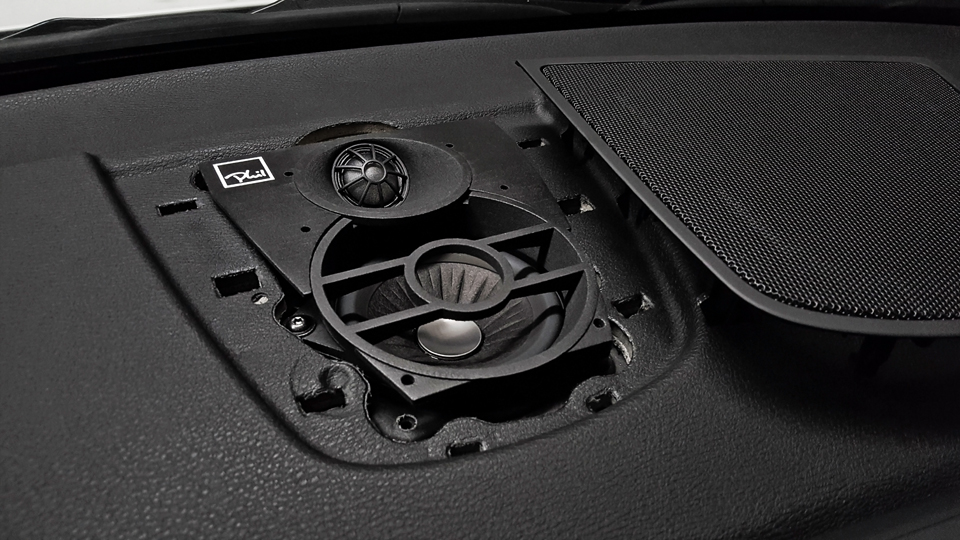
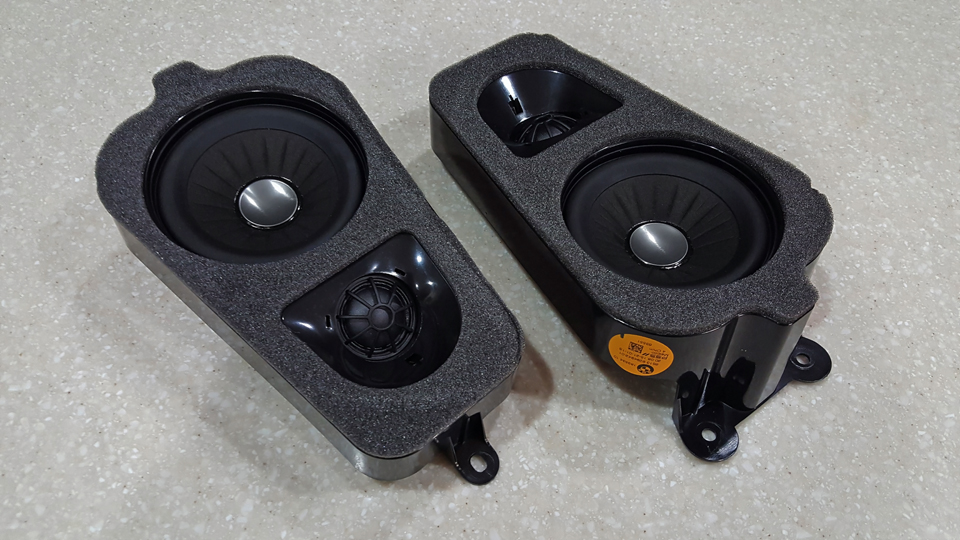
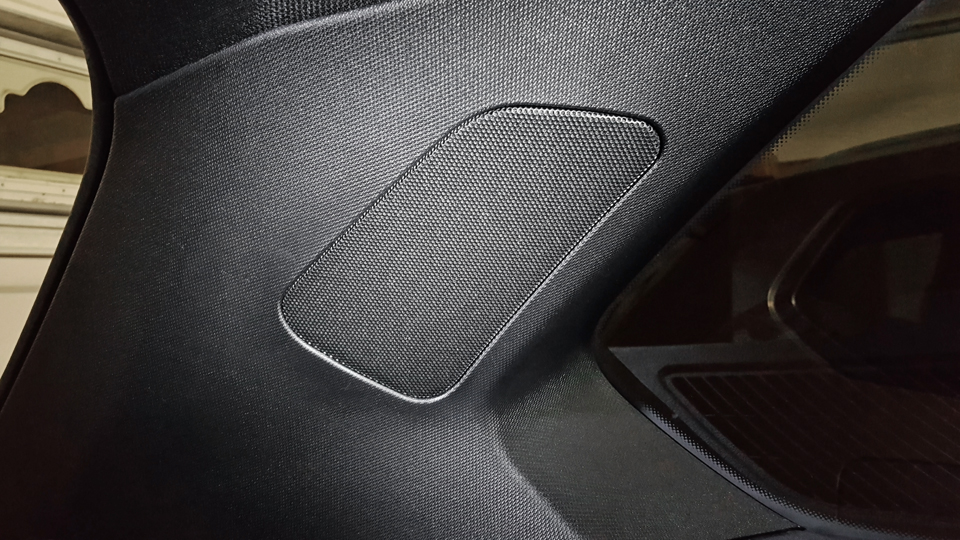
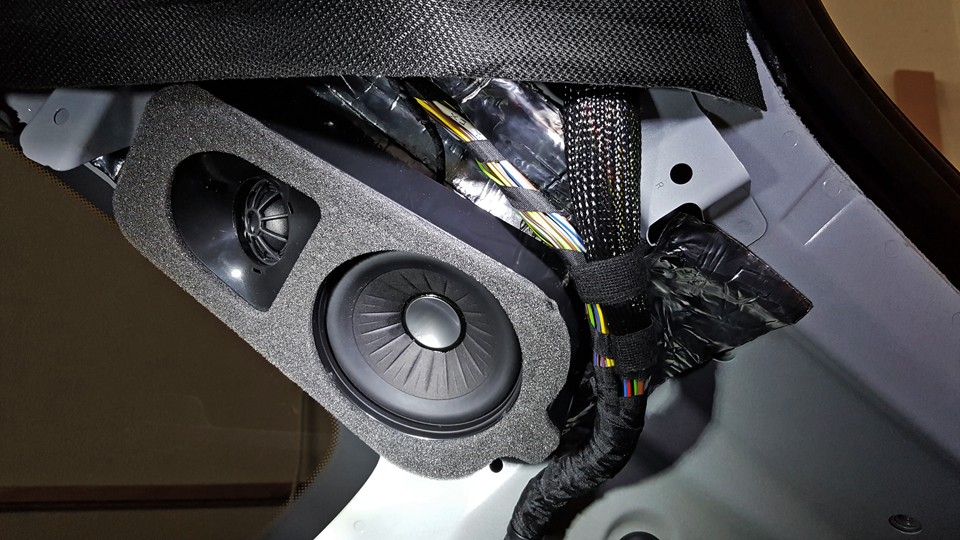
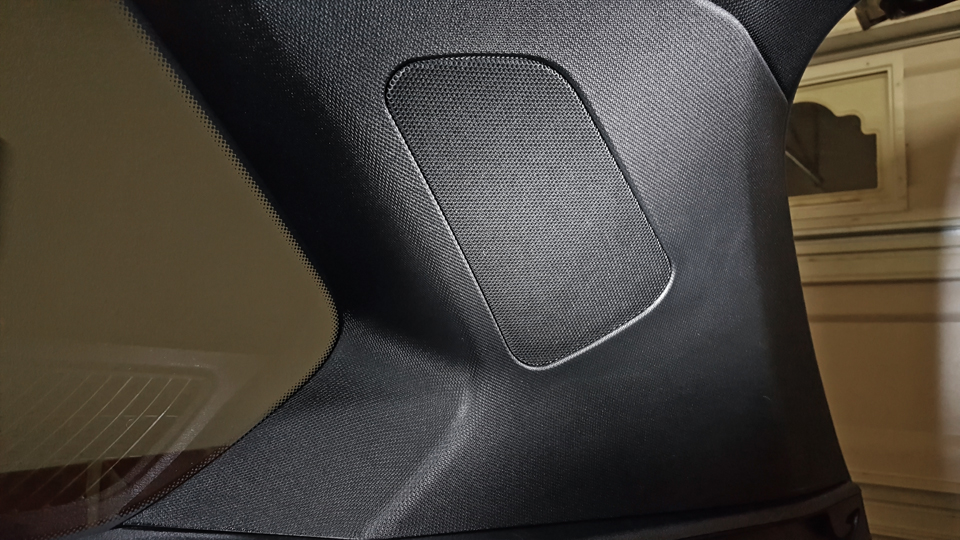
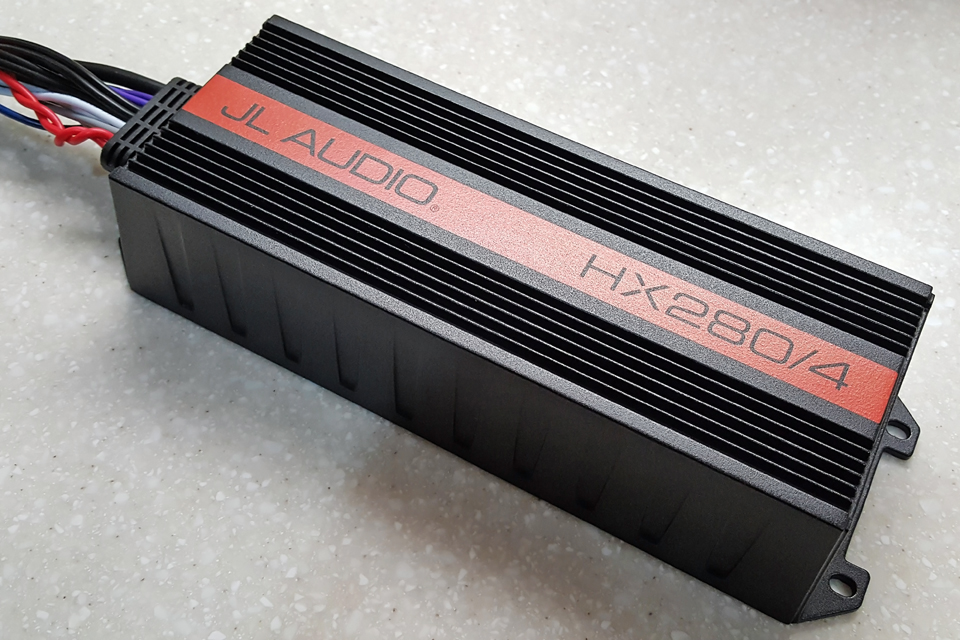
The headunit is the latest option 688 Harmon/Kardon with a big amp and many speakers. Has DSP and Logic 7 too. It’s plenty loud for a mini concert.
![Image]()
![Image]()
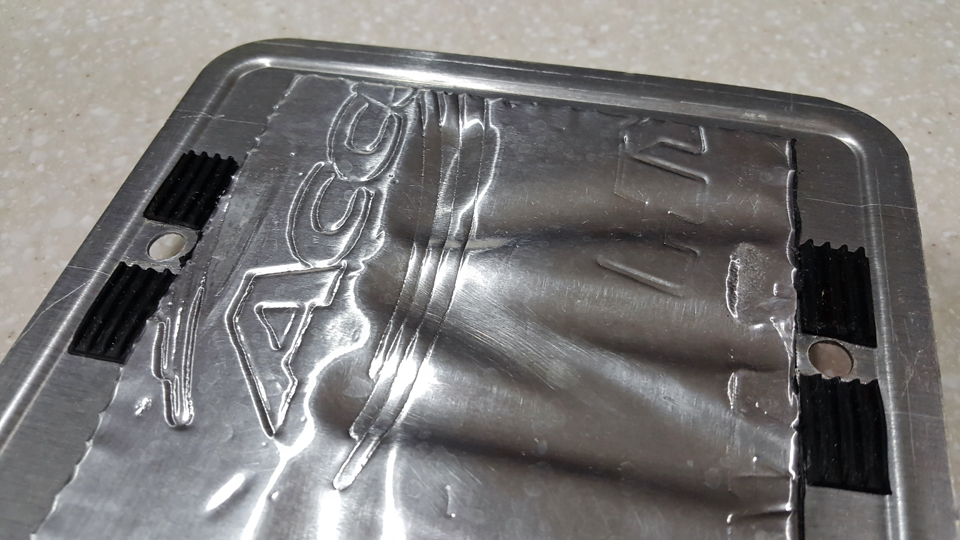
The first thing I did a year ago after getting the vehicle is the license plate mod.
![Image]()
Here’s two recent photos of the vehicle. Has plenty of features. The dealer also installed the MPPK (tune) and MPE (exhaust) sometime ago.
This is the picture of the rear with all the stereo parts installed. The rear suspension didn’t sag because it has the Adaptive M suspension with rear air bags and self-levelling.
Here are just some random pictures of the screen/display. We can get navigation, music, video, internet news, sports gauges, etc on it.
The big knob on the center console is to pick the features or audio/video tracks…
The steering wheel has some controls for the stereo too (no big deal).
This one is interesting
… when we use the steering wheel controls, the audio stuff is projected on the windshield (head-up display). Normally we just see the speed/navigation info there.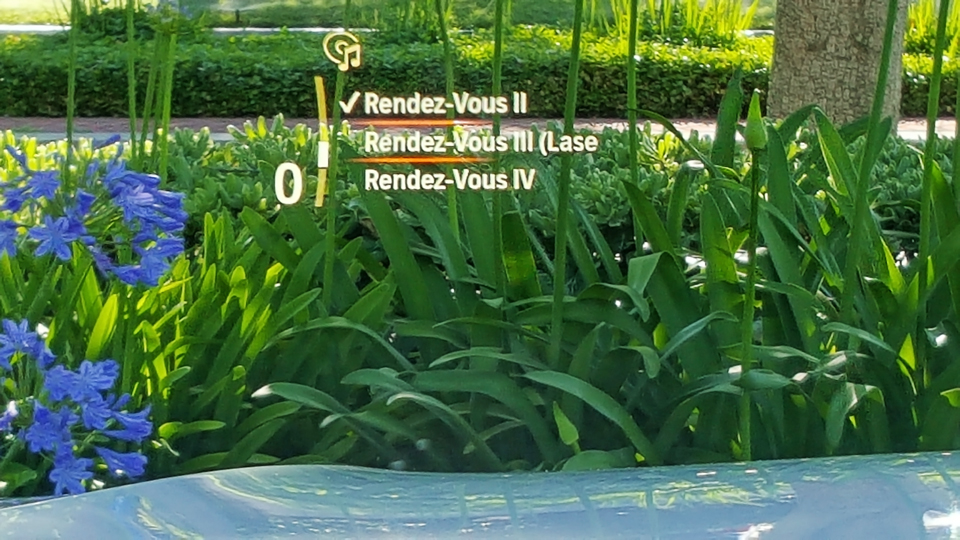
The headunit is the latest option 688 Harmon/Kardon with a big amp and many speakers. Has DSP and Logic 7 too. It’s plenty loud for a mini concert.
The first thing I did a year ago after getting the vehicle is the license plate mod.