Alright, New England weather has finally calmed down (everyone was getting a free built in pool ") ) SO, now comes the install.. So first thing first.. The equipment list.
) SO, now comes the install.. So first thing first.. The equipment list.
Components:
Kenwood DNX9140
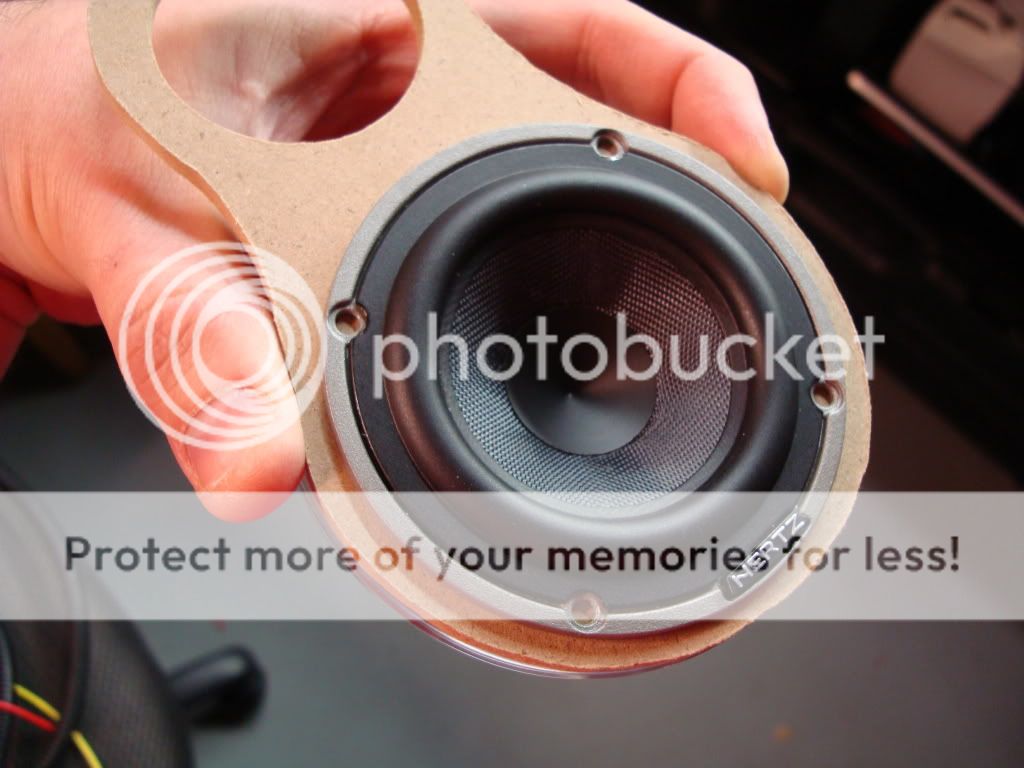
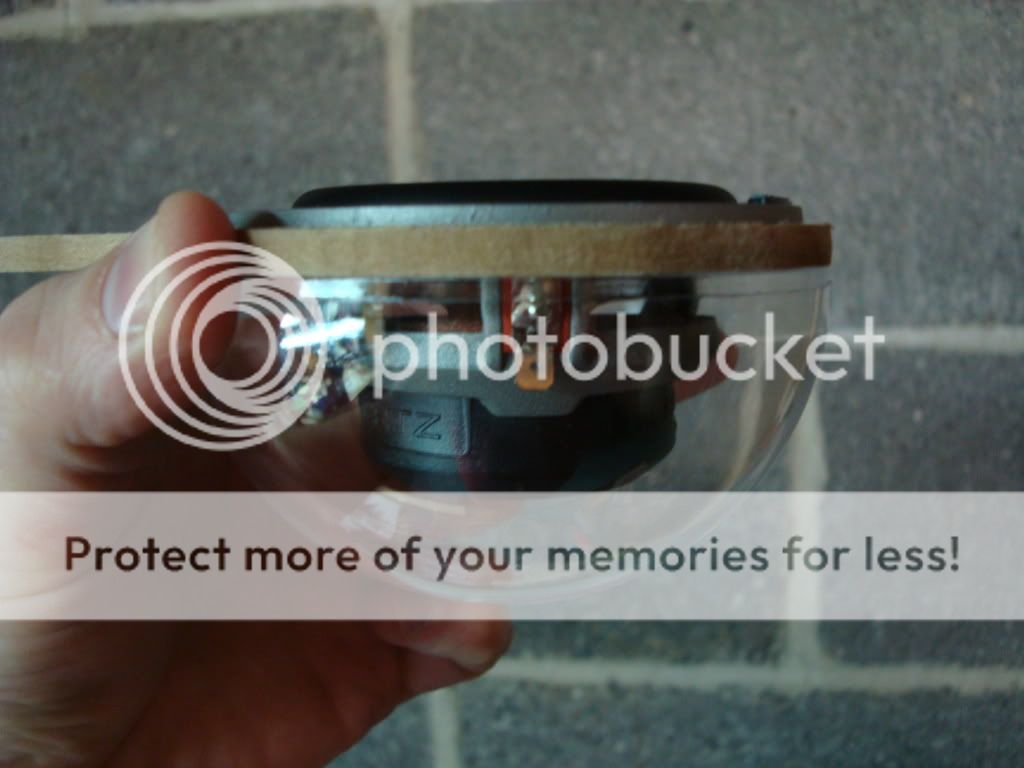
Hertz MLK165
Hertz HL70
Hertz ML3000 (2nd in very near future)
Audiocontrol Matrix
Audioontrol DQX & DDC (Front end)
ZED Leviathan
ZED Kronos (2nd in very near future as well)
Accessories:
ALL Stinger cables & accessories
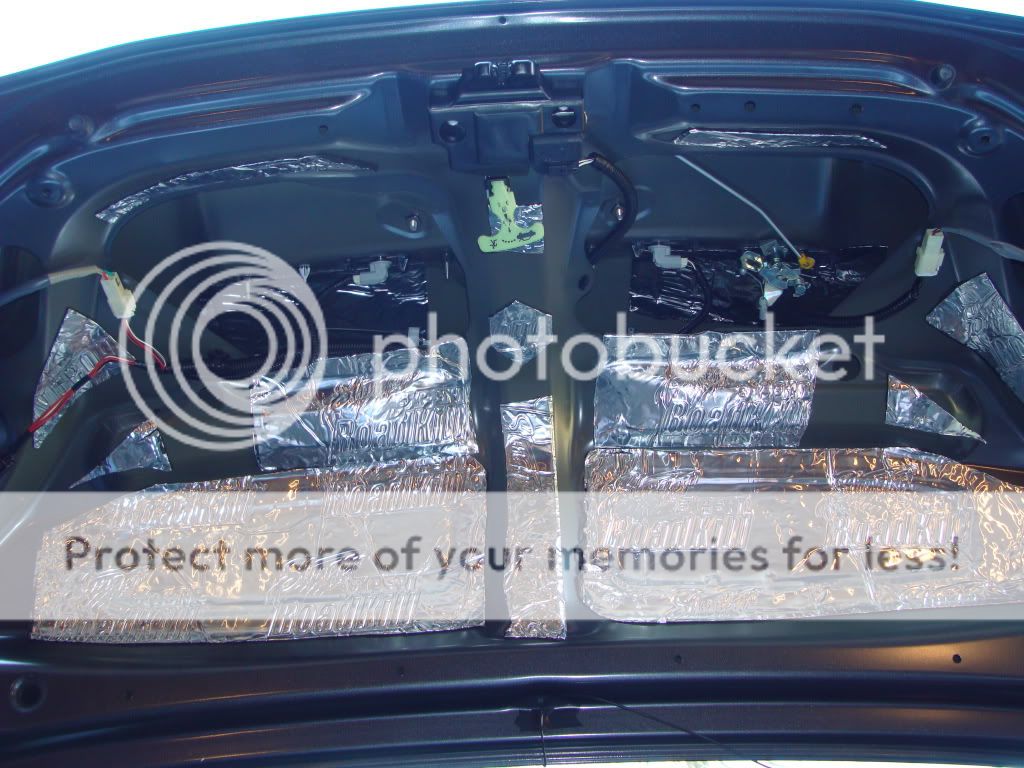
Stinger Roadkill Expert, Dynaliner & Dynaplate
1/8 & 1/4 CCF from foamfactory
Front door speaker adpts from How do I install stereo, speakers, subwoofer, amplifier, tweeters ipod in my Tacoma Toyota
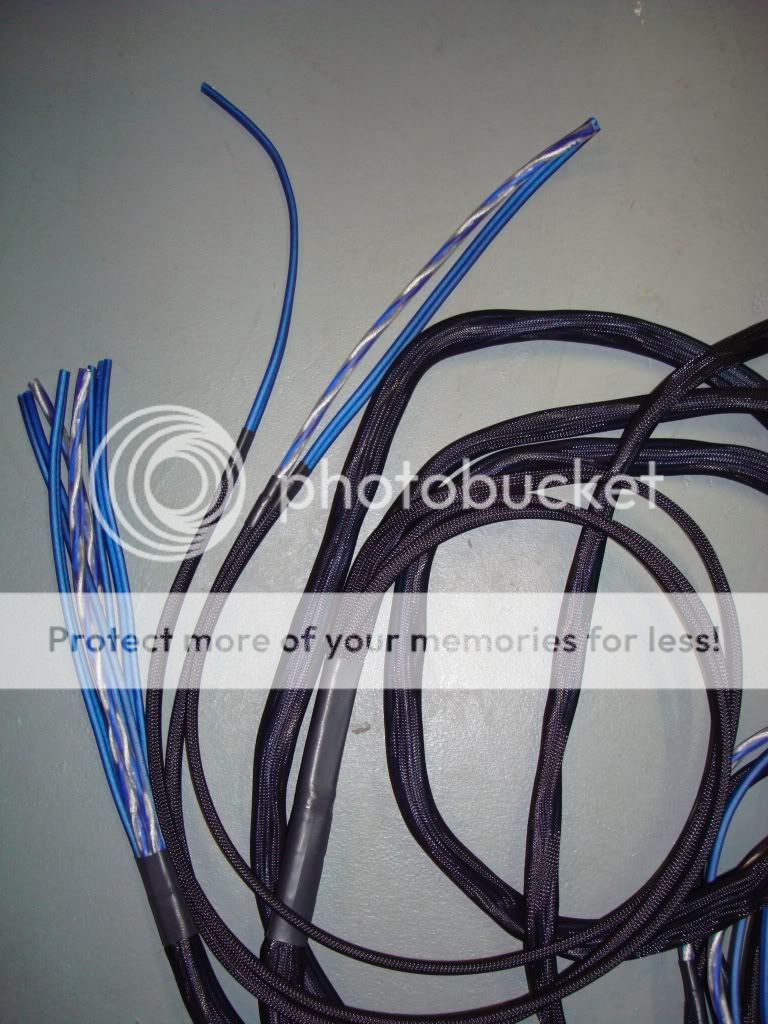
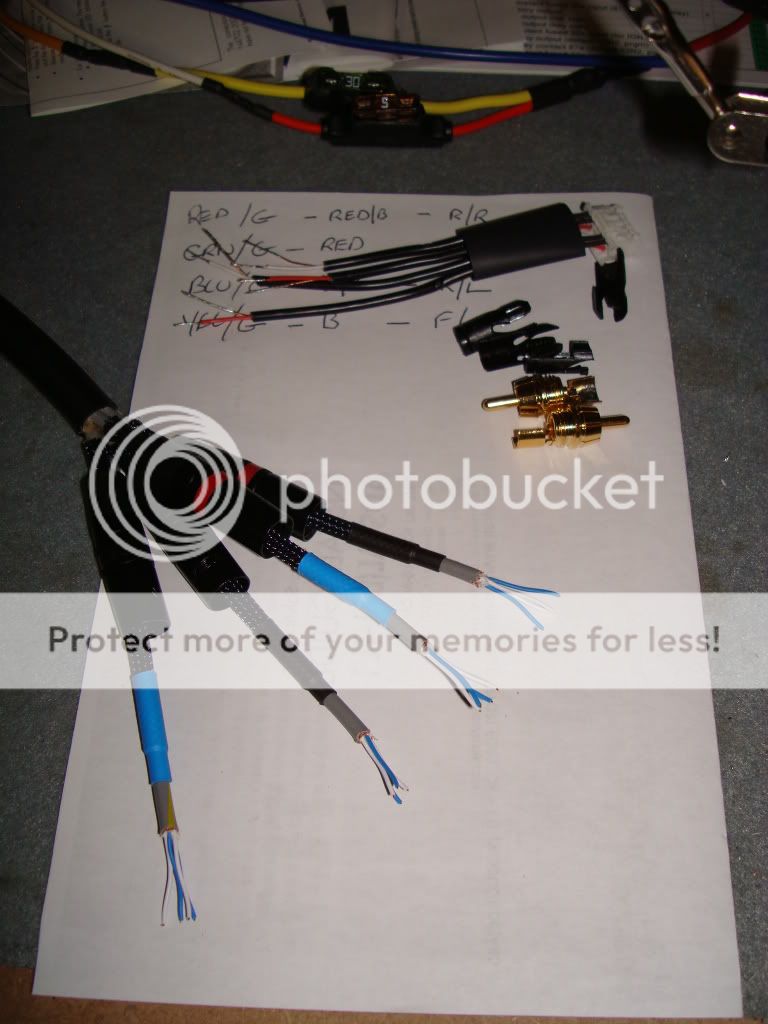
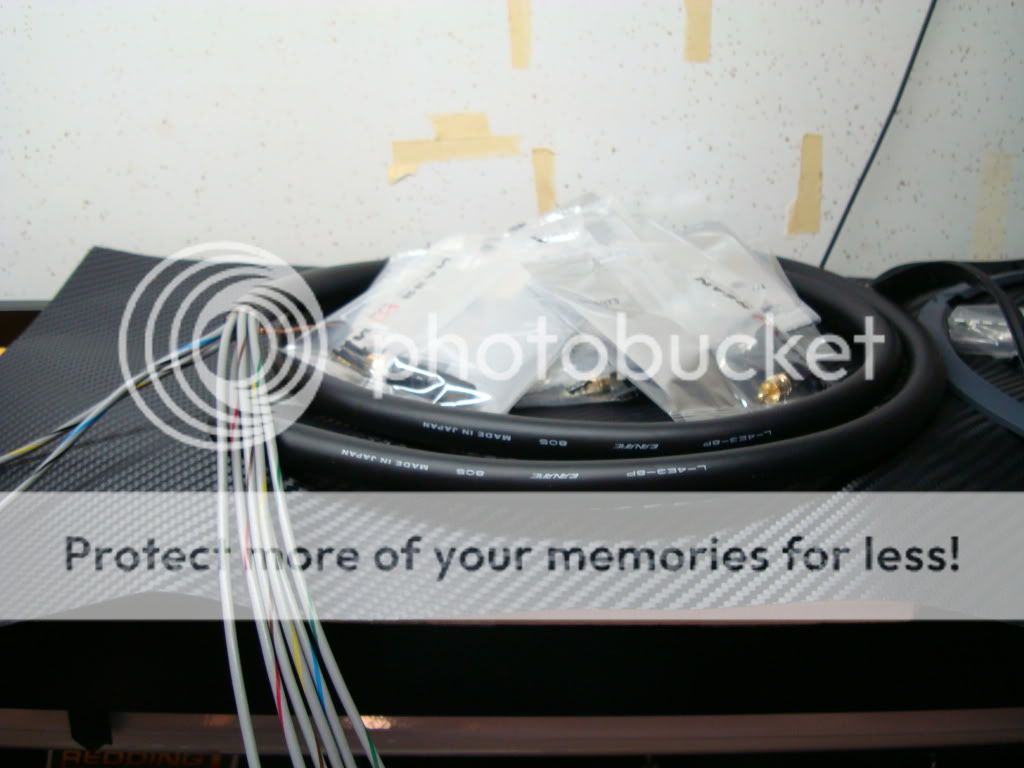
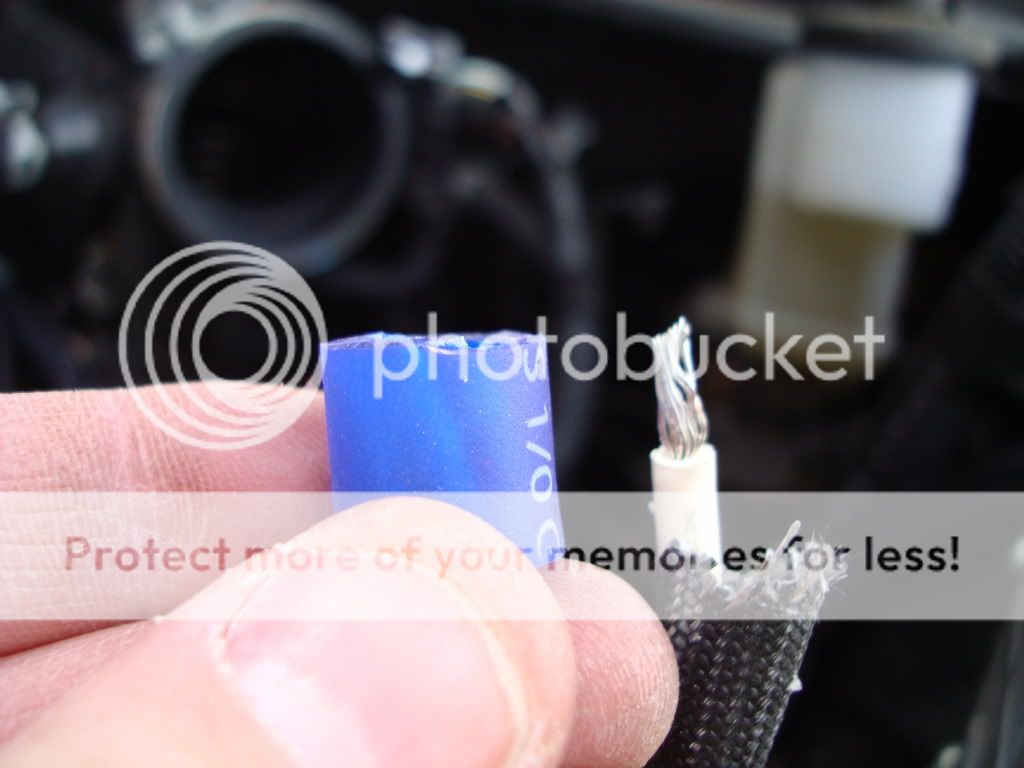
DIY interconnects (credit goes to Doitor) Canare Star Quad 8 & 4 channel with Neutrik RCAs
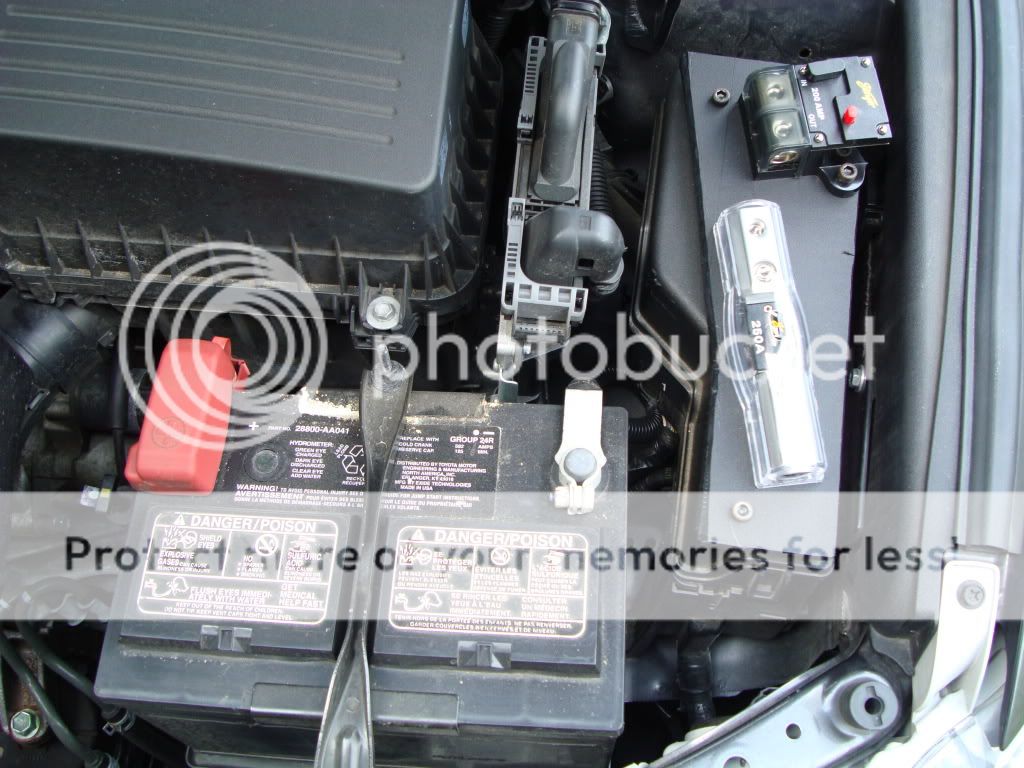
Optima Yellow top, dual posts
Misc accessories from SDS, PE & MarkerTec
SIGNAL PATH:
DNX9140 will cross the Front / Sub channels
Front channel (L&R) -> Matrix -> DQX -> Leviathan -> ML28, HL70 & ML165
SUB channel (L&R) - Matrix (split into channel 2 & 3) -> C3 -> Kronos -> ML3000 (future: C2 -> Kornos -> ML3000)
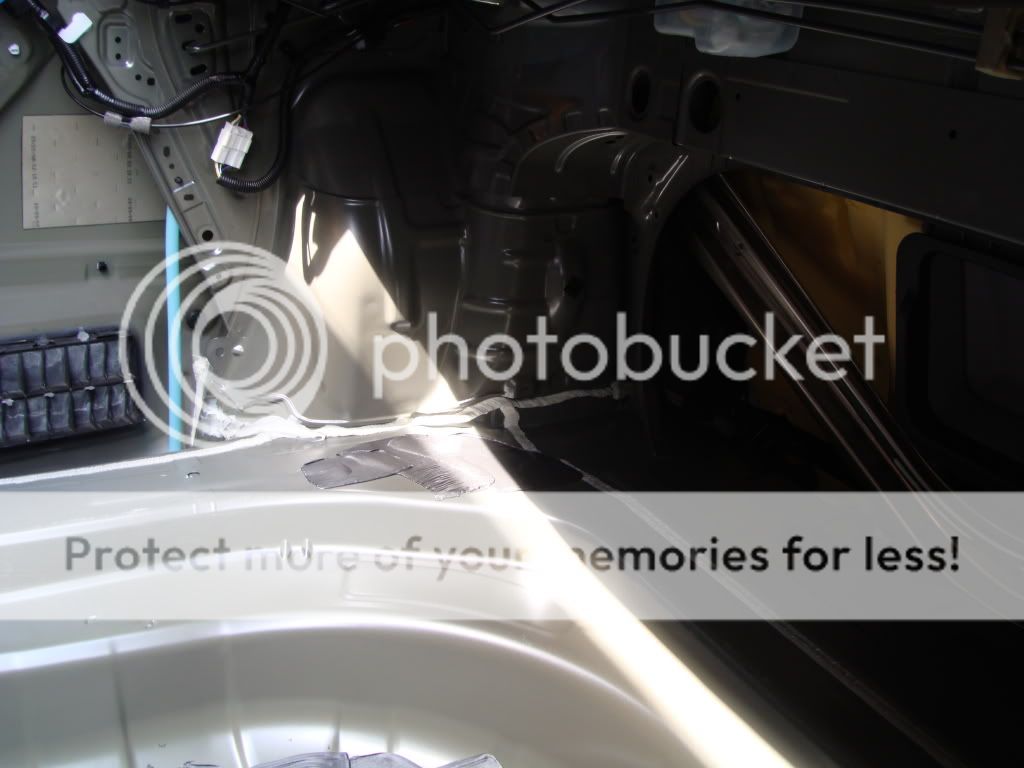
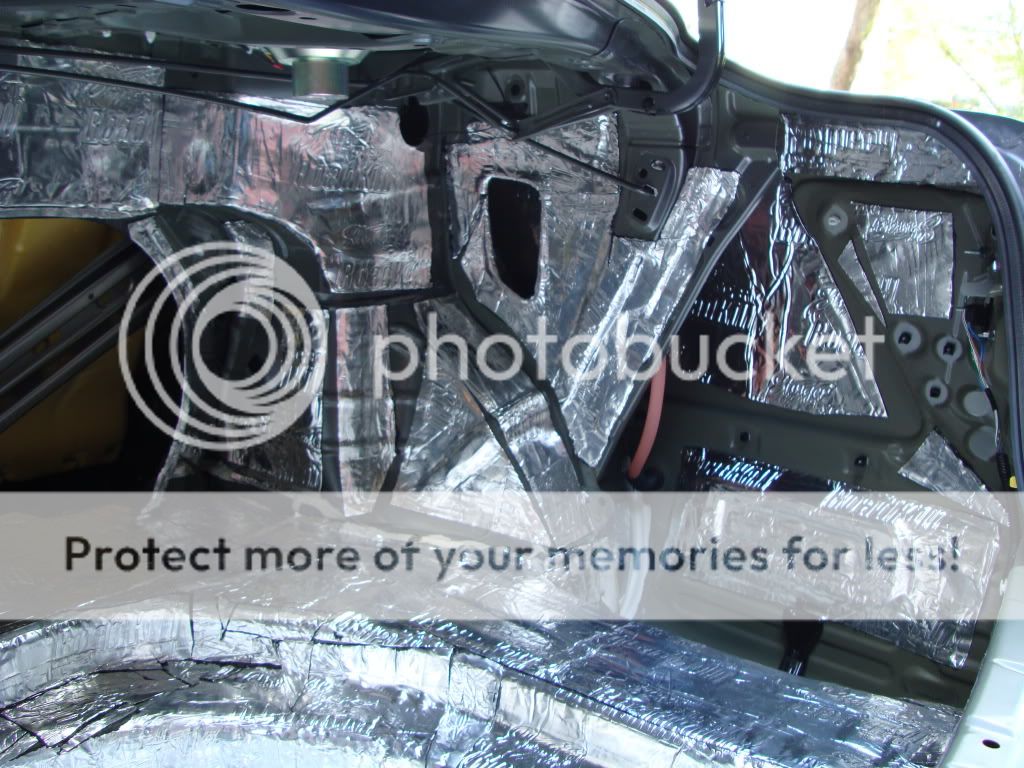
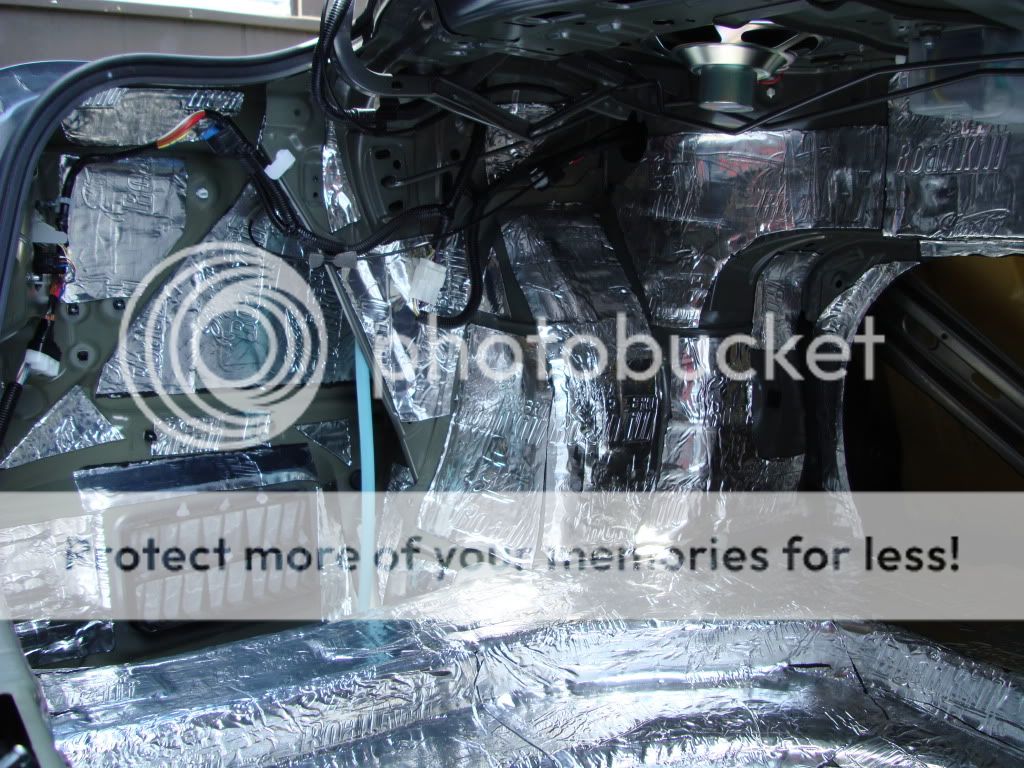
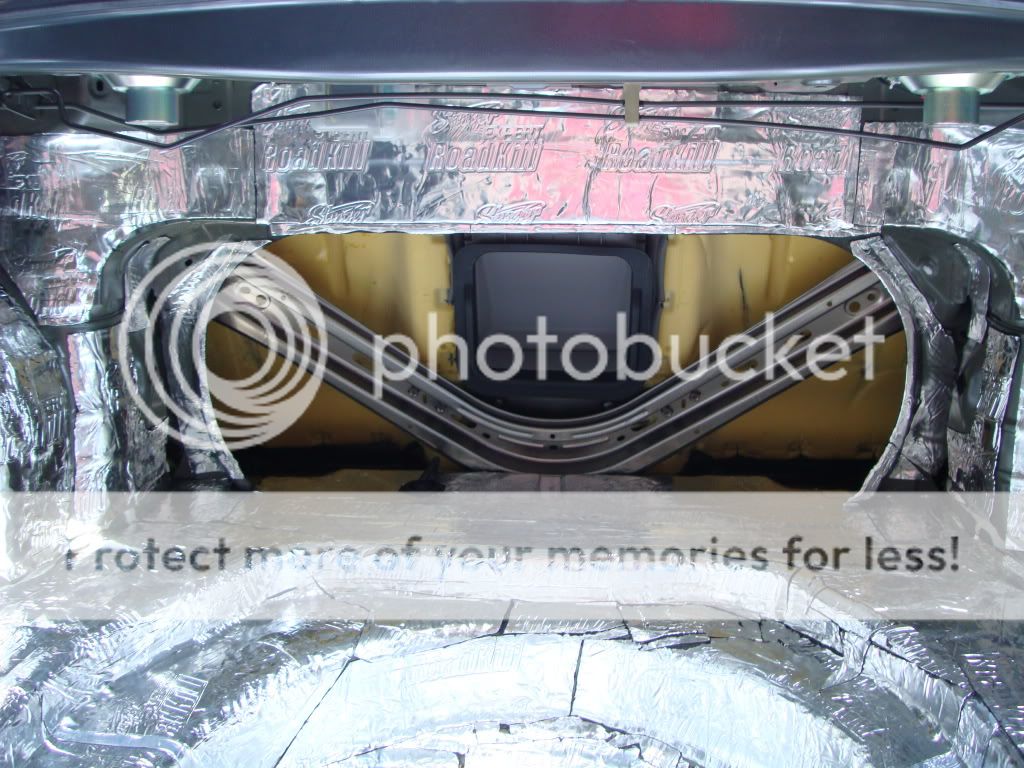
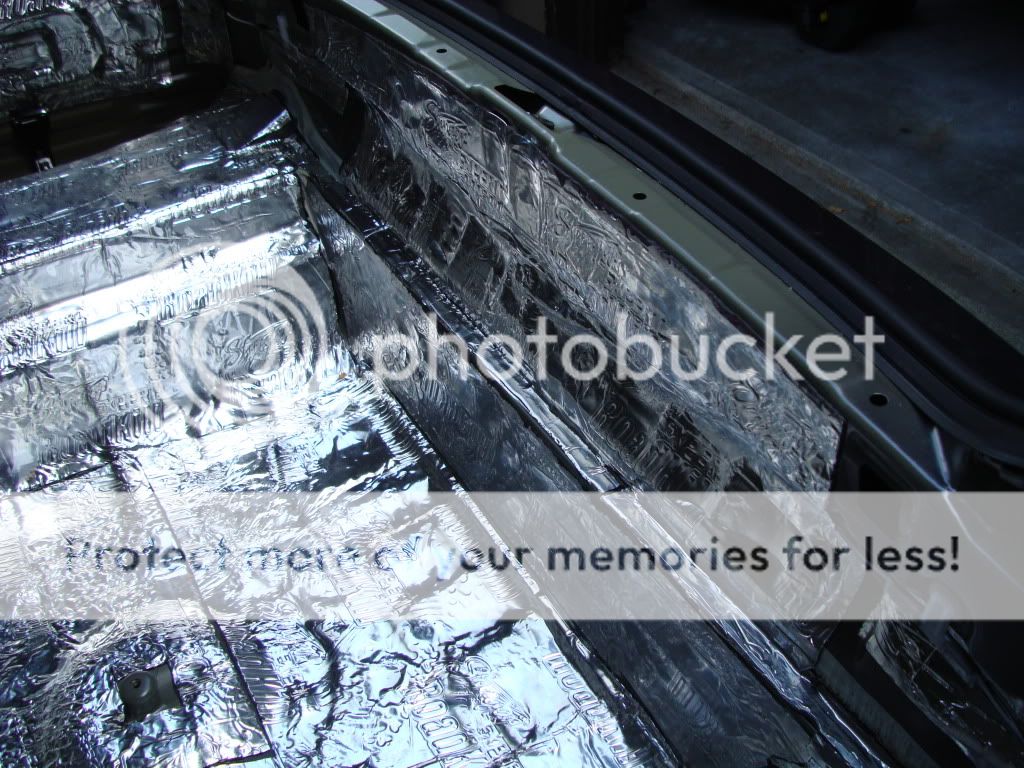
DEADENING:
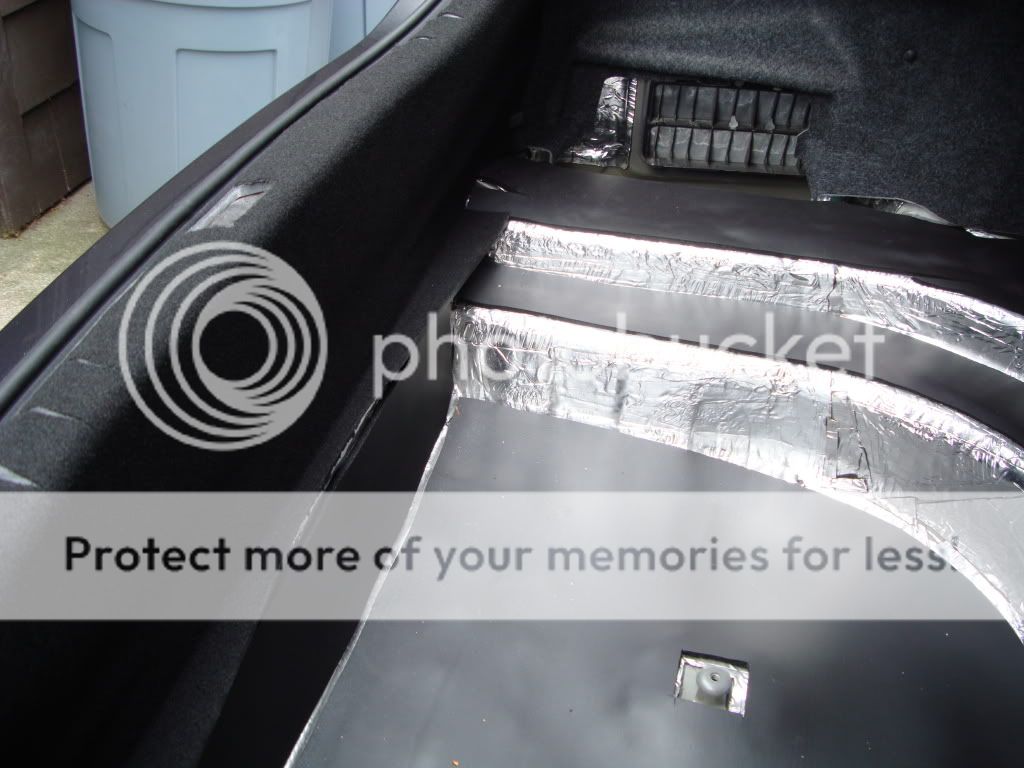
Phase 1: Trunk, Front doors (in & out), Rear doors (in & out), rear deck & roof (material dependent)
Phase 2: Floor (from firewall to rear deck) & Carpet pad
Security: Already done (Viper) w/ custom battery & siren modifications
Windows: Way too dark. 19% under limit
I will also be adding a Stinger AC converter (Son's Video game) and will be utilizing the av in /out on the DNX 9140. I will be adding headrest video later in the year. I am not only looking for a good SQL system, but a AV system for trips with the family as well. Nice thing about the DNX9140 is it is zoned. The front can run the music while I can zone the AV outs for the rear and play a DVD for the kids while I am listening to the Ipod and using the GPS for directions.
The 9140 will also be used for T/A and crossing the Front end and Sub (EQ flat for FE and 10 band will be used for SUB)
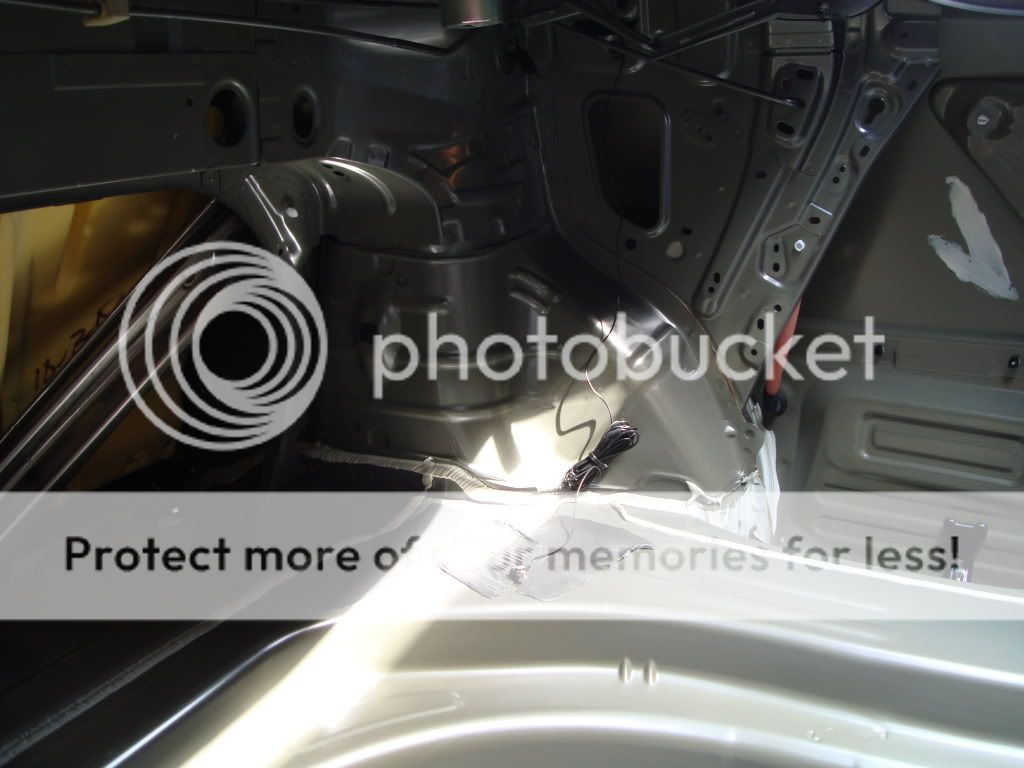
Front door deadening has already been done, I will post pictures of that shortly (Need to find the card I used) I have been working on the Pods for the pillars and custom cables over the past few weeks (Pics shortly)
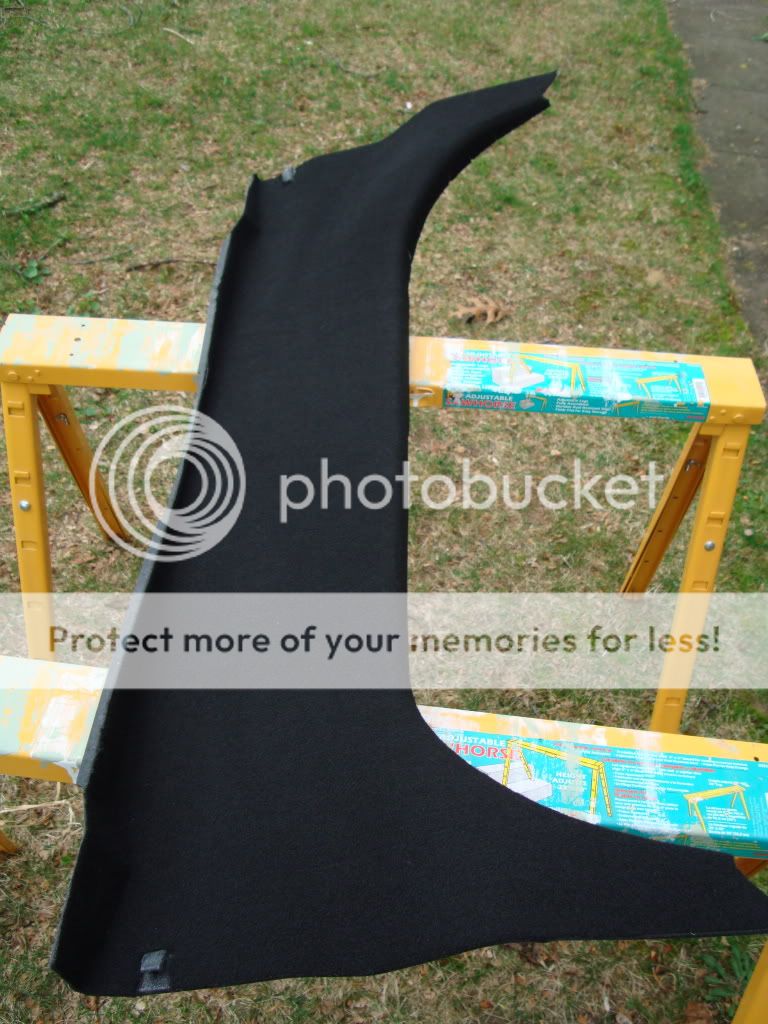
My install plans will be suedo-stealth, The trunk will be gutted (in process now) and will be built up with a combo of MDF and Birch. Carpeting and Vinyl from R&T enterprises (Makers of Obcon) Only thing that will be seen in trunk is baskets of ML3000s (why hide a pretty SUB?) otherwise, it will be a carpeted floor and plans will also call for use of spare.
I will also be setting up the install, so that all I have to do in future is drop the second ML3000 and Kronos in trunk and off I go. (I am not a fan of rip and replace) rather plan ahead..
Alright, I will start getting some pictures up tomorrow of what I have been working on currently, then step by step after..
I also have the calibrated mic from Dayton and TrueRTA (licensed) to tune system post install.
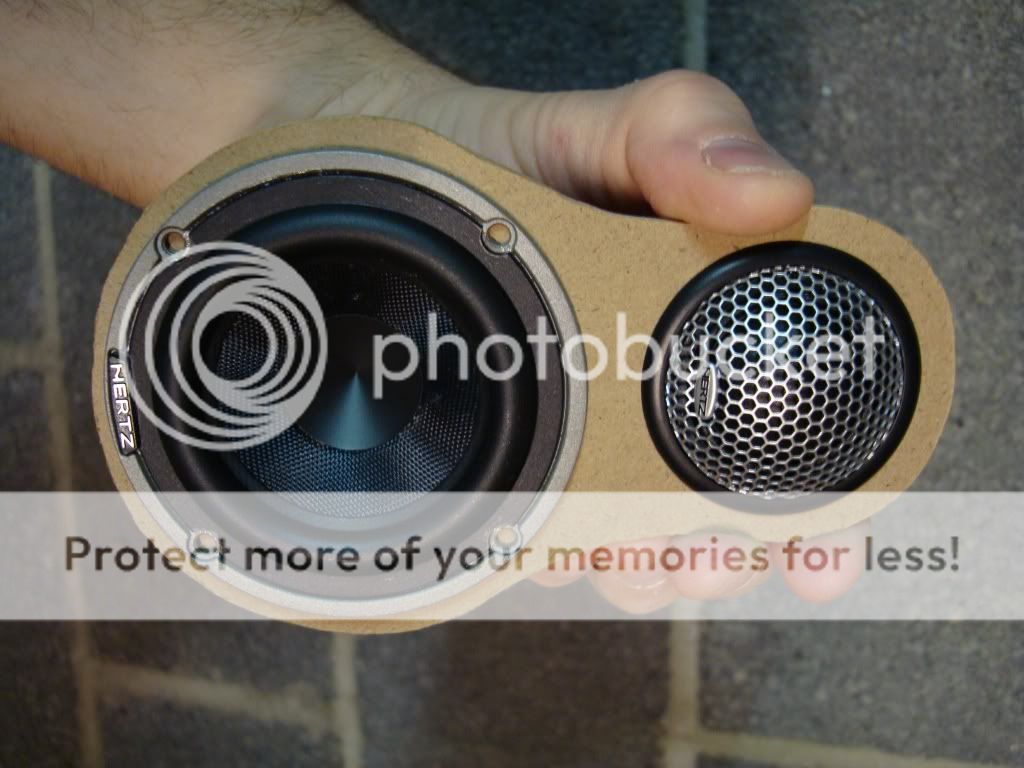
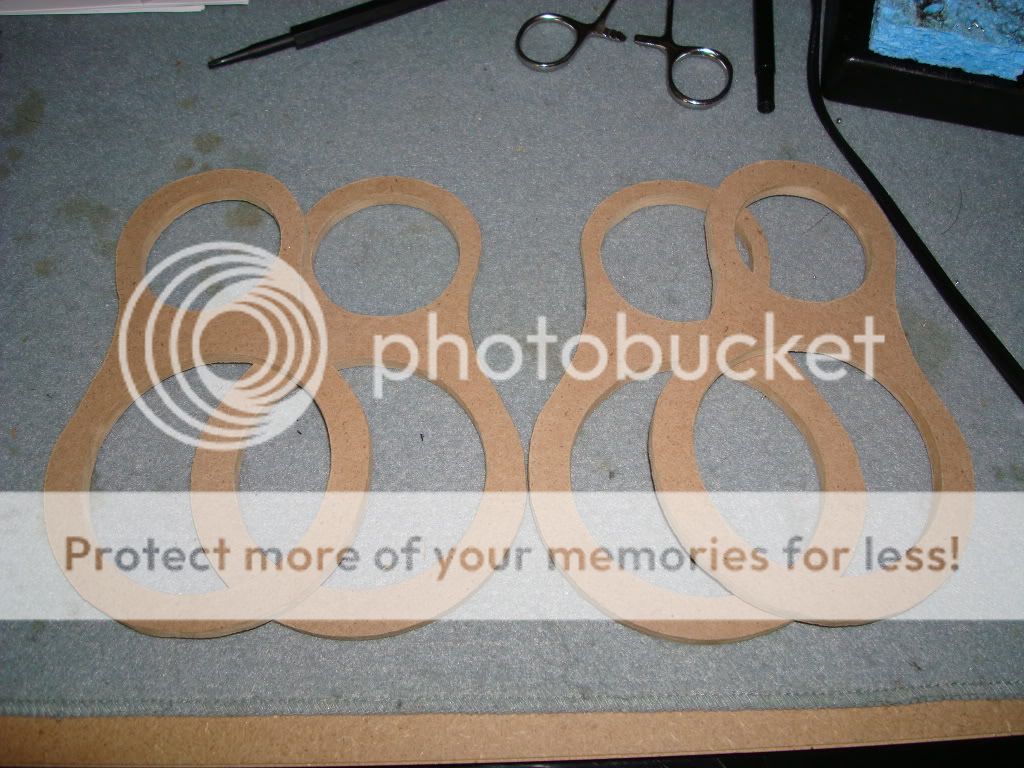
I will be starting the A-pillar fab shortly. Plan is to have the tweet and mid positioned off axis (Hertz recommended) and I have heard this type of install with a MLK2 (no mids) and it sounded fantastic
Anyways, another goal is to keep the car looking as close to stock as possible (creative A-pillar modeling) Rear fill will be removed and holes plugged and covered. AV system will be via wireless headsets.
Working on trunk and Big "6" tomorrow Explanations with pictures to follow.
SO, here we go..
) SO, now comes the install.. So first thing first.. The equipment list.Components:
Kenwood DNX9140
Hertz MLK165
Hertz HL70
Hertz ML3000 (2nd in very near future)
Audiocontrol Matrix
Audioontrol DQX & DDC (Front end)
ZED Leviathan
ZED Kronos (2nd in very near future as well)
Accessories:
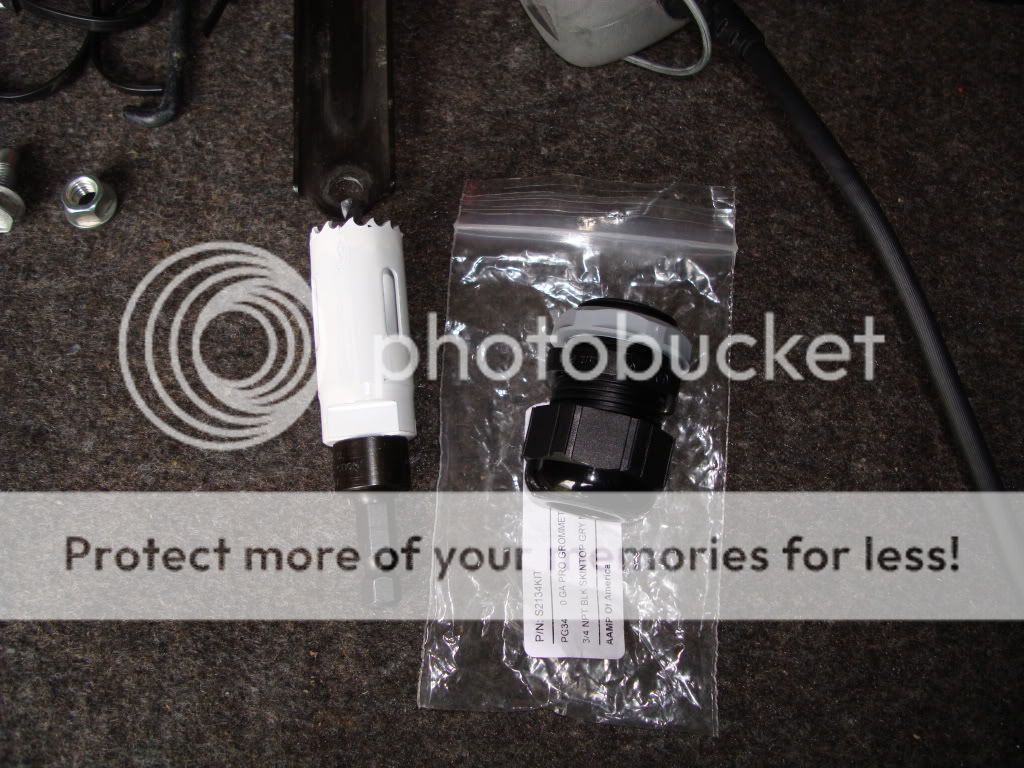
ALL Stinger cables & accessories
Stinger Roadkill Expert, Dynaliner & Dynaplate
1/8 & 1/4 CCF from foamfactory
Front door speaker adpts from How do I install stereo, speakers, subwoofer, amplifier, tweeters ipod in my Tacoma Toyota
DIY interconnects (credit goes to Doitor) Canare Star Quad 8 & 4 channel with Neutrik RCAs
Optima Yellow top, dual posts
Misc accessories from SDS, PE & MarkerTec
SIGNAL PATH:
DNX9140 will cross the Front / Sub channels
Front channel (L&R) -> Matrix -> DQX -> Leviathan -> ML28, HL70 & ML165
SUB channel (L&R) - Matrix (split into channel 2 & 3) -> C3 -> Kronos -> ML3000 (future: C2 -> Kornos -> ML3000)
DEADENING:
Phase 1: Trunk, Front doors (in & out), Rear doors (in & out), rear deck & roof (material dependent)
Phase 2: Floor (from firewall to rear deck) & Carpet pad
Security: Already done (Viper) w/ custom battery & siren modifications
Windows: Way too dark. 19% under limit
I will also be adding a Stinger AC converter (Son's Video game) and will be utilizing the av in /out on the DNX 9140. I will be adding headrest video later in the year. I am not only looking for a good SQL system, but a AV system for trips with the family as well. Nice thing about the DNX9140 is it is zoned. The front can run the music while I can zone the AV outs for the rear and play a DVD for the kids while I am listening to the Ipod and using the GPS for directions.
The 9140 will also be used for T/A and crossing the Front end and Sub (EQ flat for FE and 10 band will be used for SUB)
Front door deadening has already been done, I will post pictures of that shortly (Need to find the card I used) I have been working on the Pods for the pillars and custom cables over the past few weeks (Pics shortly)
My install plans will be suedo-stealth, The trunk will be gutted (in process now) and will be built up with a combo of MDF and Birch. Carpeting and Vinyl from R&T enterprises (Makers of Obcon) Only thing that will be seen in trunk is baskets of ML3000s (why hide a pretty SUB?) otherwise, it will be a carpeted floor and plans will also call for use of spare.
I will also be setting up the install, so that all I have to do in future is drop the second ML3000 and Kronos in trunk and off I go. (I am not a fan of rip and replace
) rather plan ahead..Alright, I will start getting some pictures up tomorrow of what I have been working on currently, then step by step after..
I also have the calibrated mic from Dayton and TrueRTA (licensed) to tune system post install.
I will be starting the A-pillar fab shortly. Plan is to have the tweet and mid positioned off axis (Hertz recommended) and I have heard this type of install with a MLK2 (no mids) and it sounded fantastic
Anyways, another goal is to keep the car looking as close to stock as possible (creative A-pillar modeling
) Rear fill will be removed and holes plugged and covered. AV system will be via wireless headsets.Working on trunk and Big "6" tomorrow
Explanations with pictures to follow.SO, here we go..