DIYMobileAudio.com Car Stereo Forum banner

Living in the past - Pioneer/PPI/Image Dynamics Old School Cavalier Build

18K views 63 replies 28 participants last post by  Notherner  
#1 · (Edited)
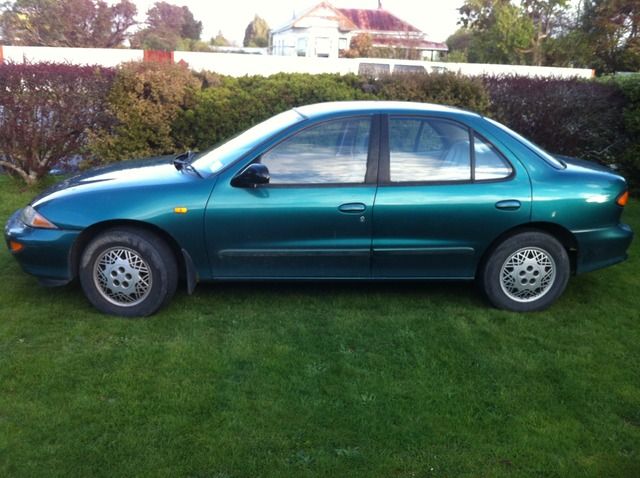
Been a while since I've posted a build - the SQ scene is dead where I'm from, so I kind of stepped over to the dark (SPL) side just to keep involved in car audio. The truck I'm building had some engine issues recently though so I pulled it off the road to fix them, along with some rust issues. I needed a daily driver in the meantime so I picked up this '94 Cavalier for a princely sum of $400.

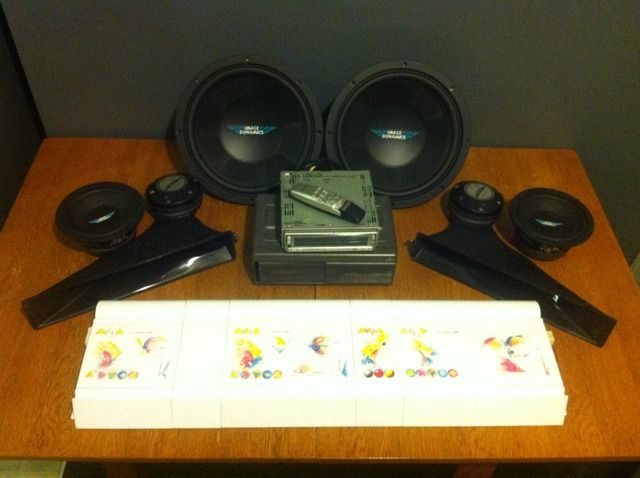
The standard AC Delco cassette deck and speakers leave a lot to be desired aurally, so I figured it's time to dust off some of my old school car audio collection and put it to use where it belongs! So the plan is this:

Source:
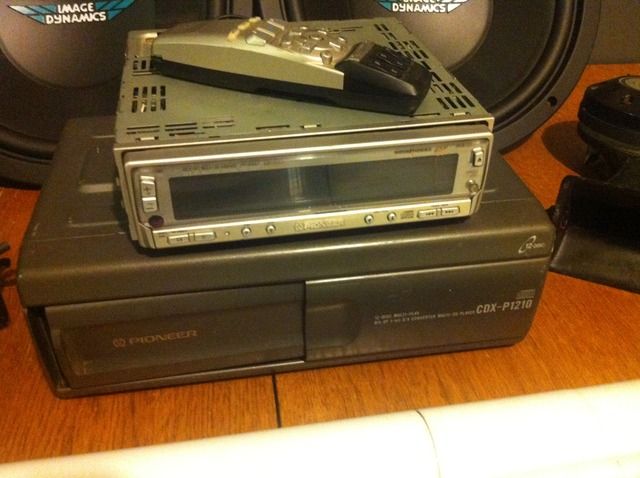
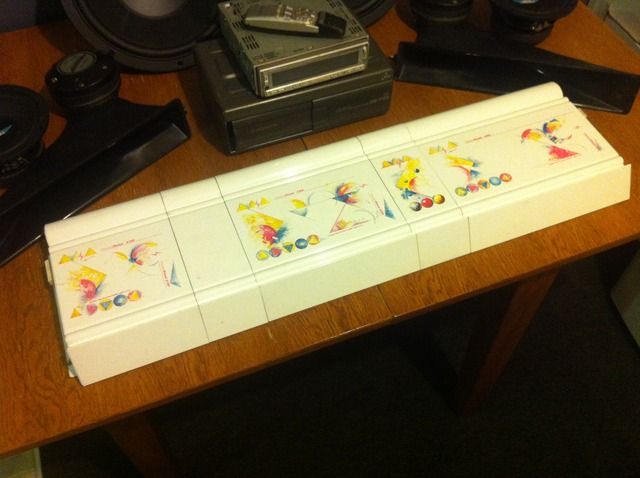
Pioneer DEX-P1 with CDX-P1210 12 disc CD changer

Amplification/Speakers:
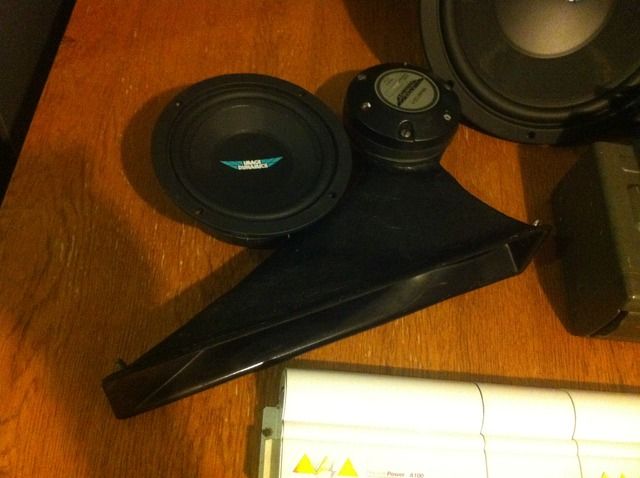
Highs - Image Dynamics CD-1 HLCD's with early fibreglass bodies on a PPI A100
Mids - Image Dynamics IDQ62 6.5" 2-Ohm drivers on a PPI A200
Subs - Image Dynamics IDQ12v2 D4 12" drivers, in Infinite Baffle on a PPI A300


Really looking forward to getting this install done so I can finally listen to all these goodies rather than looking at them! Got a lot of work still ahead, besides the obvious install work, I'll be going through the Art amps with some fresh kapton tape and thermal paste.

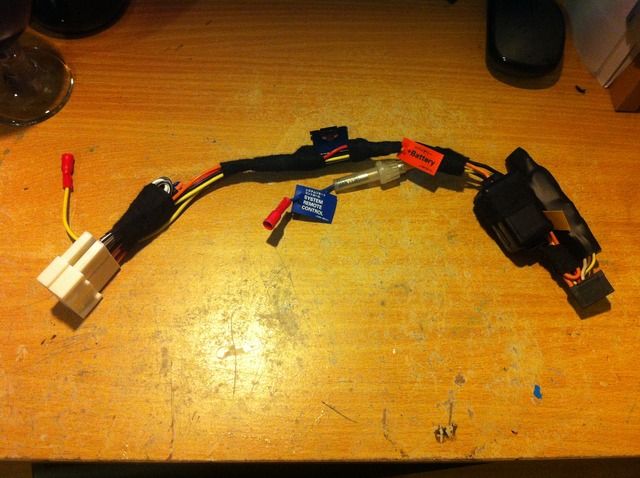
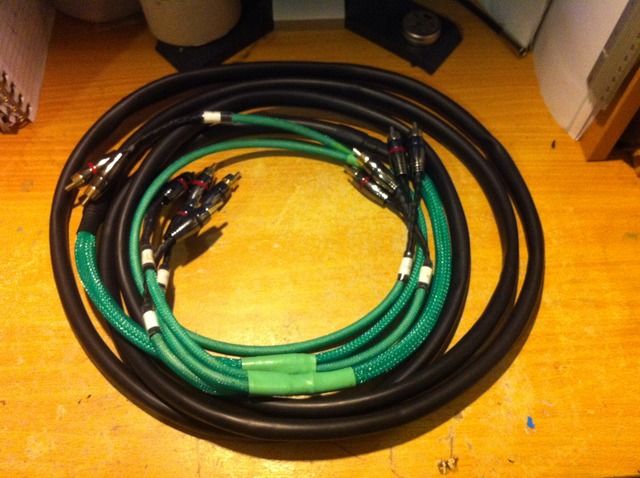
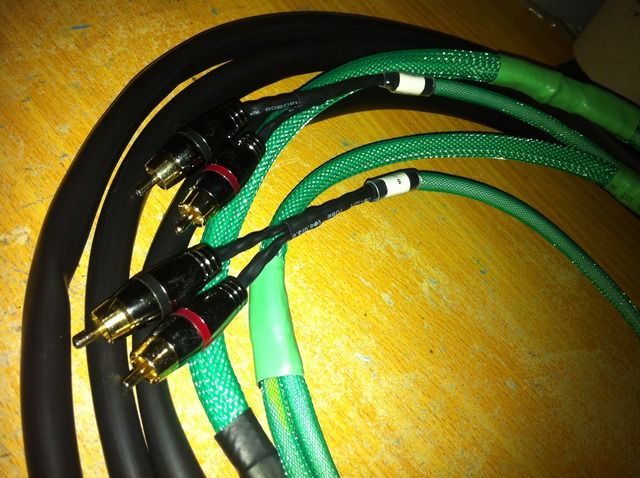
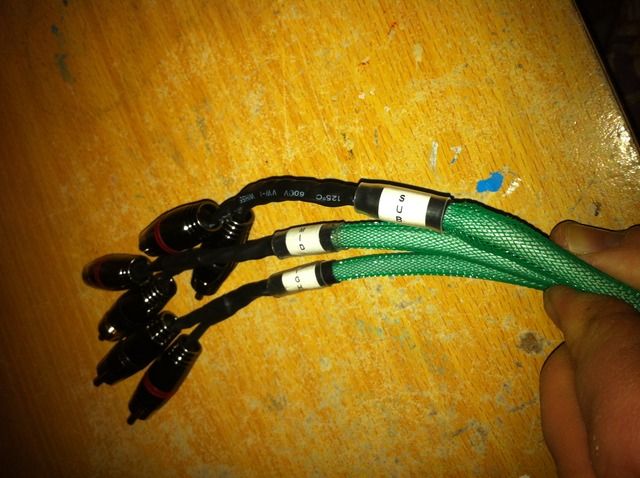
First things to be done are the headunit wiring harness and some 6-channel DIY RCA interconnects.


More to come soon! :D
 
#2 ·
Re: Living in the past - Pioneer/PPI/Image Dynamics OS Cavalier Build

Looking great so far!

Sent from my SAMSUNG-SM-N920A using Tapatalk
 
#6 ·
Thanks guys! I've made a bit more progress, just need to get a couple more steps done before I post pics.

Like looking at a magazine from the '90's..
That was my goal! :D This stuff has been kept in the dark wayyyy too long!

Those PPI's look good with the connectors (bridges) in place. Are you going to be able to mount them like that where they are visible?
They'll be stashed away safely 90% of the time, but displayable when I want them to be. As it's my daily driver, I didn't want there being any chance of them getting damaged in the trunk. All will be revealed soon ;)
 
#8 ·
Next lot of progress! Got the mounting for the sub baffle sorted and the first part of the baffle itself done. Amp rack is all but finished now as well.

This is the lower mount. I welded 8mm nuts to some 3mm right angle steel for the baffle to bolt to. The bracket bolts to the floor via 8mm rivnuts. The crescent shaped piece of galv. is to seal off the spare wheel well. I forgot to get a shot of the top mount, but it uses 8mm rivnuts as well, diectly in to the vehicles sheetmetal.

Factory speakers went in the rubbish, and the remaining holes sealed up with 18g sheet metal urethaned in place.


Figuring out amp placement. As I mentioned earlier, I wanted to keep the amps out of the trunk to avoid any risk of damage. Luckily, there just happened to be the perfect amount of space between the sub baffle and the rear seat to squeeze them in :D

The amp rack is simply a piece of 18mm MDF, spaced up 18mm for the wiring to run underneath and out of sight. It's bolted to the floor using M6 rivnuts and hardware.
 
#9 ·
The front end is well under way too. Again, the factory speakers went in the trash. I used the OEM speaker mount as a template to fabricate some new mounts for the IDQ62's. M5 rivnuts and bolts now replace the OEM mounting screws. I do plan on replacing the MDF with HDPE in the near future.


The new mounts are 30mm thick to accommodate the monster IDQ motors. I'm going to have to recess the speakers in to the mounts however, as the door panels only just fit over the new mounts. I've got about a 1/2" between the motors and window glass then it's down as it is now, so I'm hoping that recessing them 5/16" will give me enough clearance front and back.
 
#15 ·
Got the horn mounting halfway done. The front mounts are built and in place, just need to do the rear motor supports now. Have to modify or relocate the hood release, but other than that, it all went pretty smoothly. Motors are as far out as they can go without cutting sheetmetal.
There's a tonne of room on the drivers (RH) side, but the HVAC system on the LH side limited how far forward I could mount them, so I started with that side, and did the RH side to match.


In the first pic you can see the piece of wire I used as a guide to keep the waveguides parallel. This worked really well, as even though the dash looked reasonable level left to right, the right hand side was actually 3/4" higher than the left, and both side taper up in the centre.


They're not as high as I would have liked...going from the gas pedal to the brake pedal is awkward if I'm wearing my work boots as they hit the rear of the waveguide. Again, something that would be no issue if it were a LH drive car, but I'm sure I'll get used to it!

Also got some of the wiring run, although the power cable is proving to be difficult. If this was a LH drive car, it would be simple, but the HVAC case is right behind the firewall grommet, so feeding a big fat 4g cable though isn;t as easy as I had hoped :(
 
#16 · (Edited)

They're not as high as I would have liked...going from the gas pedal to the brake pedal is awkward if I'm wearing my work boots as they hit the rear of the waveguide. Again, something that would be no issue if it were a LH drive car, but I'm sure I'll get used to it!

Also got some of the wiring run, although the power cable is proving to be difficult. If this was a LH drive car, it would be simple, but the HVAC case is right behind the firewall grommet, so feeding a big fat 4g cable though isn;t as easy as I had hoped :(
My car is LH drive and I had the exact same issue in my car when I had the waveguides in with my foot hitting the horn body, even worse when wearing my work boots. I just ended up taking my boots to work and changing them there. Like where this is going. Love old school builds. ;)
 
#19 ·
Got the first of the Arts cracked open, cleaned up and new kapton tape and thermal paste installed. I started with the A100. Felt a little bit sad breaking the warranty seal, but it's also pretty cool knowing that the last time this board saw daylight, was on the PPI bench sometime in the mid-90's!:cool:


Caps still look okay. All component solder joints look good as well.

Heatsink cleaned and kapton tape laid down

Board back in place with fresh thermal paste.
 
#21 ·
Well this is dragging on a bit longer than I had hoped, but I had a couple of weeks off over the Xmas/New Year period, and managed to get a bit more done.
The front doors, rear deck, c-pillars, wheel arches and rear quarters are now fully sound deadened. On the doors I've used Stinger Roadkill, everywhere else is a mix of Dynamat Extreme, Ratmat and unbranded CLD, just leftovers I've had from previous installs. I've used 8mm neoprene CCF over the CLD and stuffed the c-pillars and rear quarters with nylon pillow stuffing as well. It's all made a hell of a difference!

Doors got 3mm foam PVC to fill the access holes before the CLD/CCF treatments went on.


I made some covers from 3mm foam PVC to seal off where the trunk hinges come up through the rear deck.


Stuffing the c-pillars


Rear quarters/wheel arches

 
#23 ·
Recessed the speaker adaptors for more clearance behind the door panels and fitted M4 threaded inserts for mounting the IDQ mids. I added a 45° chamfer to the back of the adapters for a bit more breathing room as well


Got leads soldered to the mids with Deans connectors for easy removal.


Sub baffle is all done now. Two layers of 19mm MDF and one of 12mm for a total thickness of 48mm/2".


Starting on the template for the trim panel
 
#29 ·
Thanks man!

Wiring is now all completed. Managed to find the factory firewall grommet in behind the huge airbox and got the 4g cable run through it. The Stinger fuse holder is mounted to the radiator support panel with M6 rivnuts and stainless hardware.


Amp rack is now carpeted and installed for the last time and the factory plastics reinstalled. Getting so close now I can taste it! :D
 
#33 ·
TBH, I'm not up to play on the scientific details of the kapton tape. A good friend of mine does amplifier repair and recommended using it, plus after going through Brett/Darth SQ's PPI build, I see he's using it as well. That can't be a bad thing! ;)

I found this build and was super excited to see the the whole thing through to the end but then there wasn't an end..I guess I'll wait..
Lol, believe me man, I'm just as disapointed as you are :laugh: I was really hoping to have it done by now, but work & family life is crazy busy so I just haven't had much spare time to work on it. It's soooo close as well!
 
#34 ·
Got the other two amps opened up, cleaned and new kapton tape and thermal compound installed.

Found a little issue with the A200 - one of the thermistors had cracked in half. It's weird, it's almost as if it was like this from day one. The thermistor was still fully covered in thermal compound and there's no obvious signs of excessive heat anywhere :confused:


New thermistor installed


Fortunately, the A300 was more straight forward