I'm now on the 4th and best iteration of my 2004 Mitsubishi Lancer Ralliart build, and I figured I'd share it with you guys. It's nothing fancy, just a solid build with good equipment that I think will sound really good when it's done.
Quick info about the car:
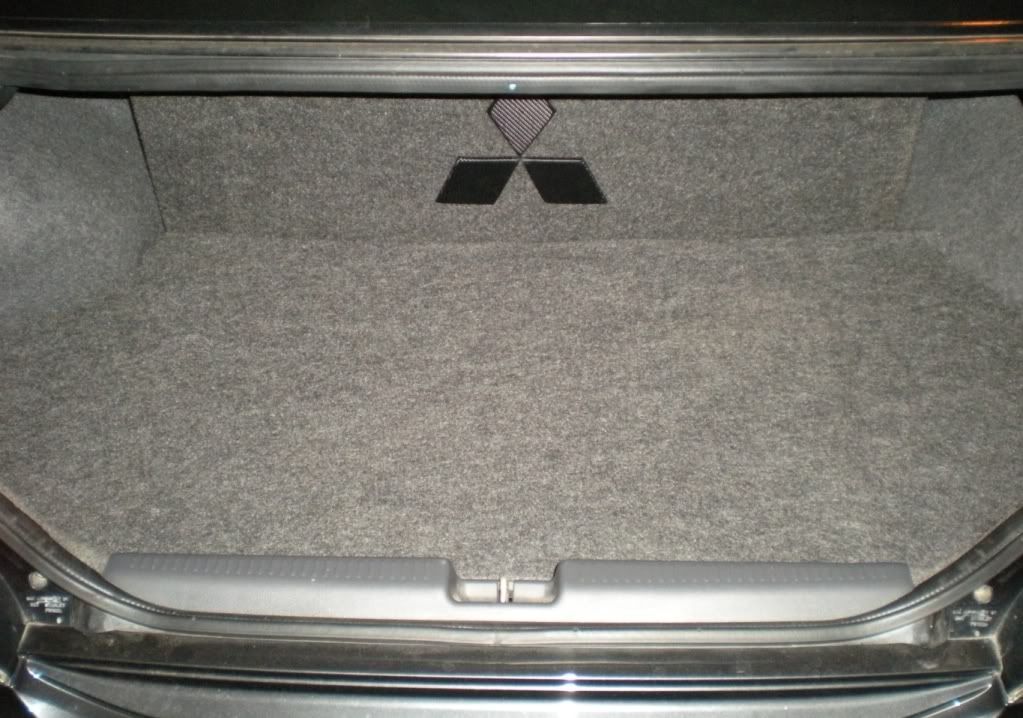
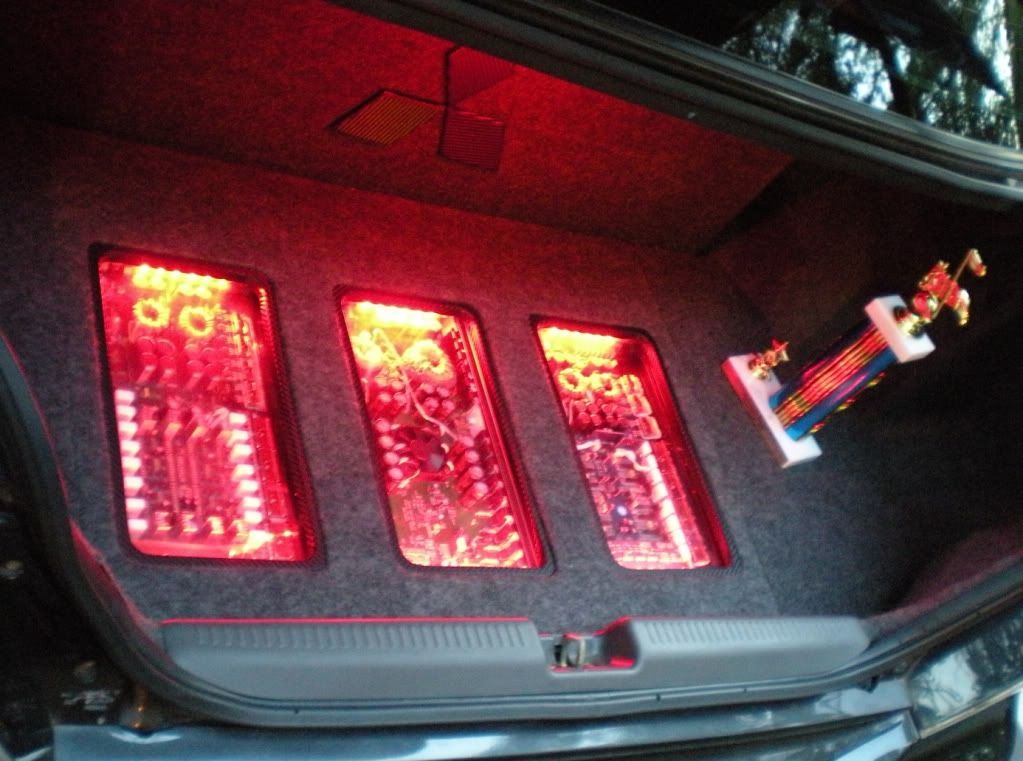
The Ralliart is the step down from the Evo. It's got a bigger motor, better suspension, better transmission, and some cosmetic upgrades as compared to a normal Lancer. No turbo, no AWD. It's got a 110a alternator, and came with an Infinity system with speakers in the doors and rear deck, tweeters in the A-pillars, and an 8 inch sub in the trunk all powered by a small amp under the drivers seat. I started last year with a pair of Alpine Type R 10's, a Kenwood amp, and an Alpine deck. I later changed out the front and rear speakers with Alpine Type S components and coax's, and then finally added a 4 channel amp. I also ran a set of bi-wired Boston SPZ60's for a while.
This semester at college, I decided it was time for a revamp, so here goes:
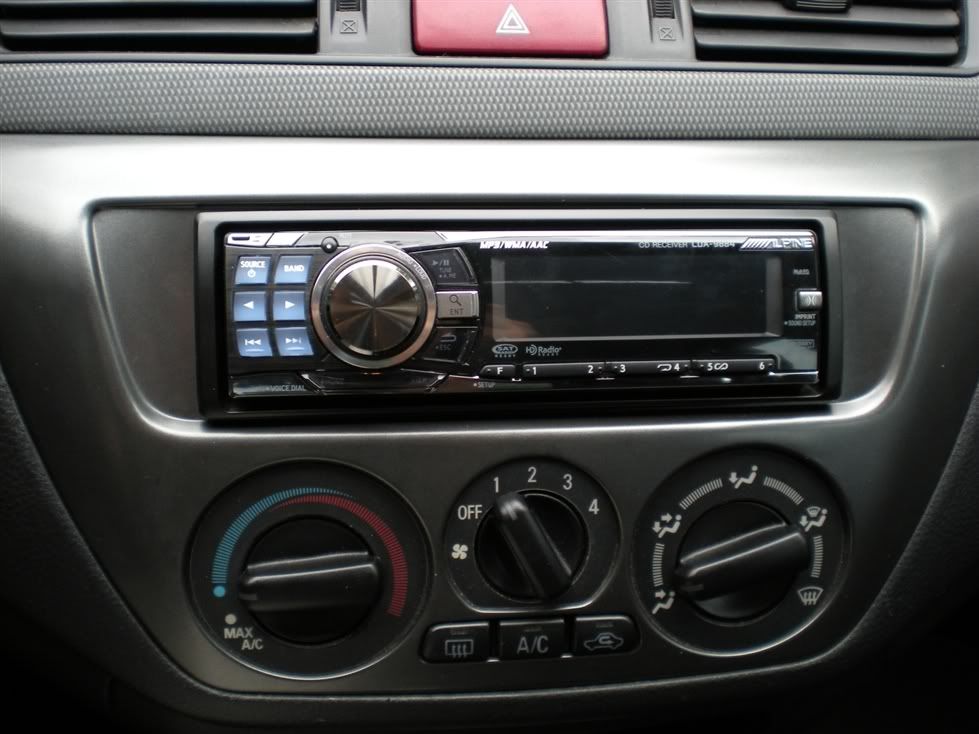
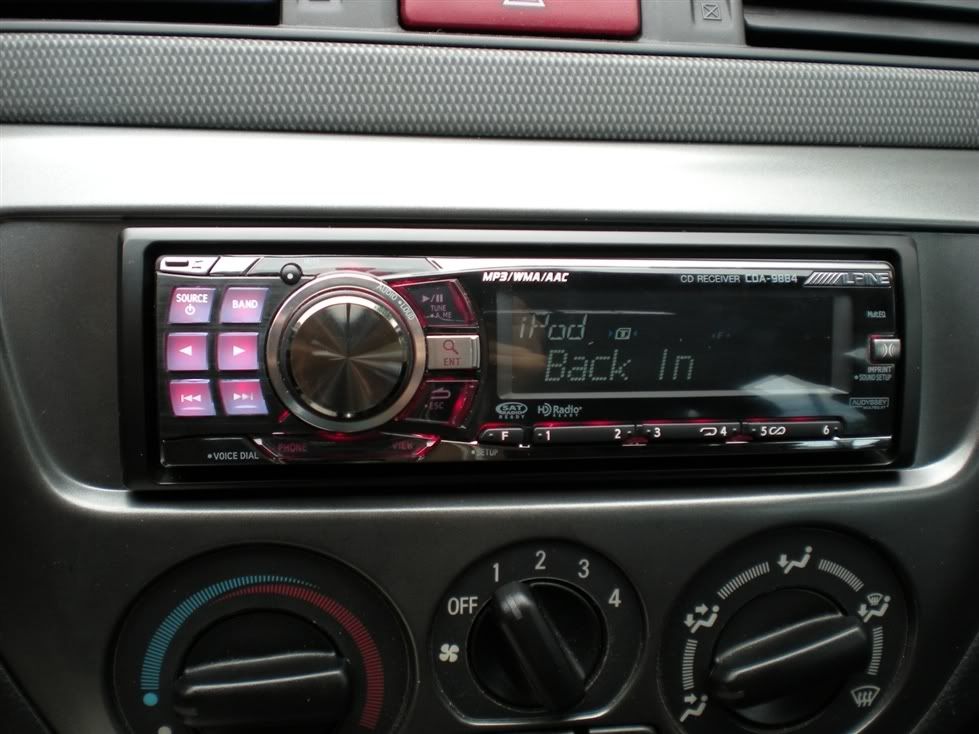
One of the only things staying is the Alpine CDA-9884 head unit. I chose this deck because of Alpine's great iPod interface, good price, features I wanted, and it almost looks like it SHOULD be there. I like to keep things low key - I didn't want it to be painfully obvious I have any kind of stereo mods. The 9884 matches the color of my interior almost perfectly, and the ability to make the blue buttons light up red matches the rest of the gauges in my car as well.
![Image]()
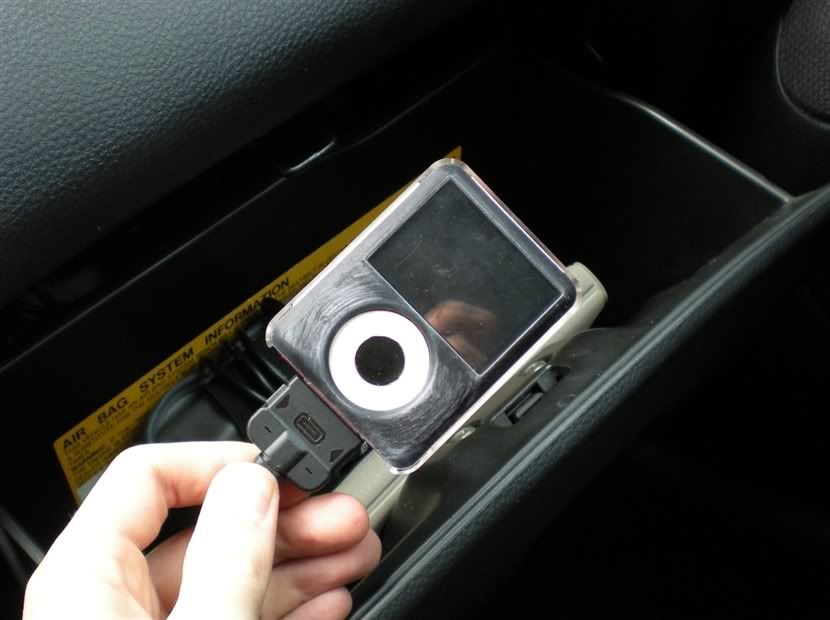
iPod cable runs to the glove box:
![Image]()
In the daylight, the red LED behind the blue buttons makes them a little purple, but whatever.
![Image]()
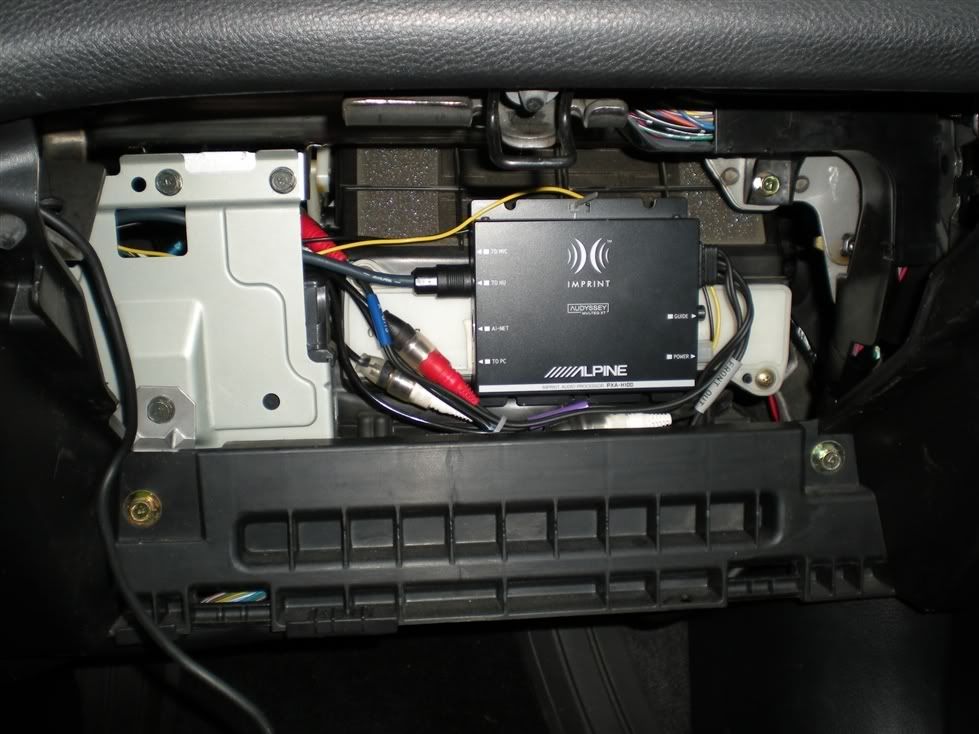
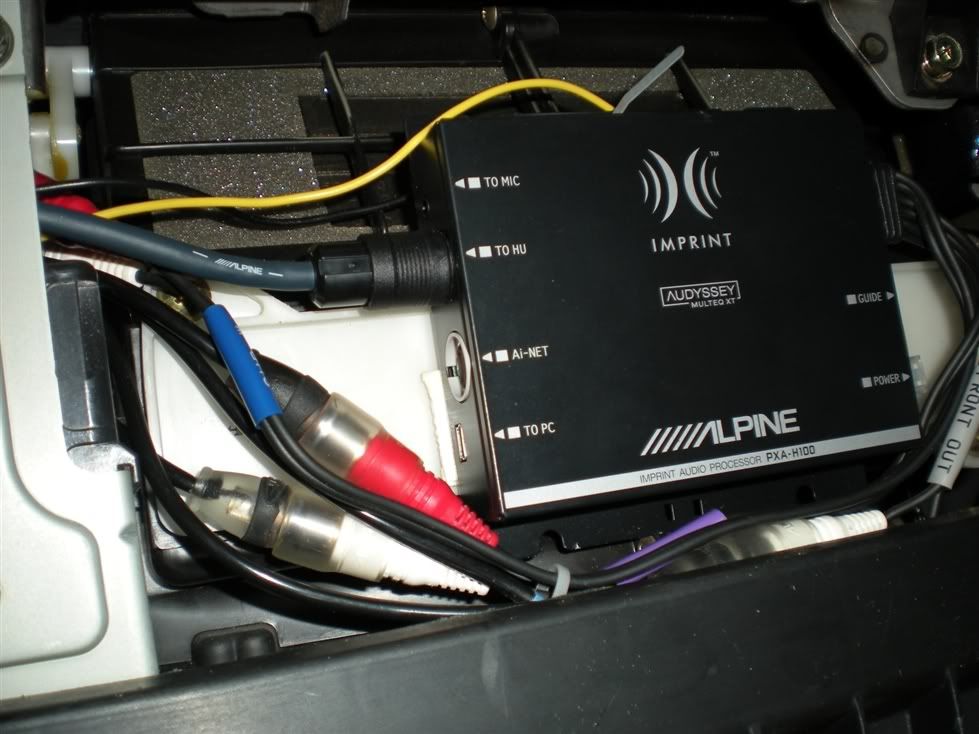
The 9884 is also one of the first series to support Alpine IMPRINT, so I picked up one of these processors for EQ, time alignment, and active crossovers. I haven't bought the tuning kit to run Audyssey's MultEQ, but I may at some point. After trying a couple different spots, Ryan (slade1274) helped me pull the head unit and install the processor behind the glove box. (And by helped, I mean I basically watched him do it, then went to wire and install the subs.) I had never pulled my dash before, so it was a great learning experience for me, especially since I had to pull the deck myself a few hours later to flip the 3 little switches on the bottom of the head unit that allow it to do important things like PRODUCE SOUND when the processor is added. Alpine just forgot to tell anyone about them.
![Image]()
![Image]()
Quick info about the car:
The Ralliart is the step down from the Evo. It's got a bigger motor, better suspension, better transmission, and some cosmetic upgrades as compared to a normal Lancer. No turbo, no AWD. It's got a 110a alternator, and came with an Infinity system with speakers in the doors and rear deck, tweeters in the A-pillars, and an 8 inch sub in the trunk all powered by a small amp under the drivers seat. I started last year with a pair of Alpine Type R 10's, a Kenwood amp, and an Alpine deck. I later changed out the front and rear speakers with Alpine Type S components and coax's, and then finally added a 4 channel amp. I also ran a set of bi-wired Boston SPZ60's for a while.
This semester at college, I decided it was time for a revamp, so here goes:
One of the only things staying is the Alpine CDA-9884 head unit. I chose this deck because of Alpine's great iPod interface, good price, features I wanted, and it almost looks like it SHOULD be there. I like to keep things low key - I didn't want it to be painfully obvious I have any kind of stereo mods. The 9884 matches the color of my interior almost perfectly, and the ability to make the blue buttons light up red matches the rest of the gauges in my car as well.
iPod cable runs to the glove box:
In the daylight, the red LED behind the blue buttons makes them a little purple, but whatever.
The 9884 is also one of the first series to support Alpine IMPRINT, so I picked up one of these processors for EQ, time alignment, and active crossovers. I haven't bought the tuning kit to run Audyssey's MultEQ, but I may at some point. After trying a couple different spots, Ryan (slade1274) helped me pull the head unit and install the processor behind the glove box. (And by helped, I mean I basically watched him do it, then went to wire and install the subs.) I had never pulled my dash before, so it was a great learning experience for me, especially since I had to pull the deck myself a few hours later to flip the 3 little switches on the bottom of the head unit that allow it to do important things like PRODUCE SOUND when the processor is added. Alpine just forgot to tell anyone about them.
")