Ok so this is my own ride which I have been working on (off and on that is) for the past year or so. Those who know me, know that I'm not one who really plans too much ahead of time when I do installs. Now sure, I will research gear, plot drivers in WinISD, Calculate current demands and so forth, but when it comes to the actual instal, you won't find me making fancy 3-D renderings or anything like that. I'm definitely more of a freestyle'ish installer who eyeballs as much as measures (for better or worse..") )
)
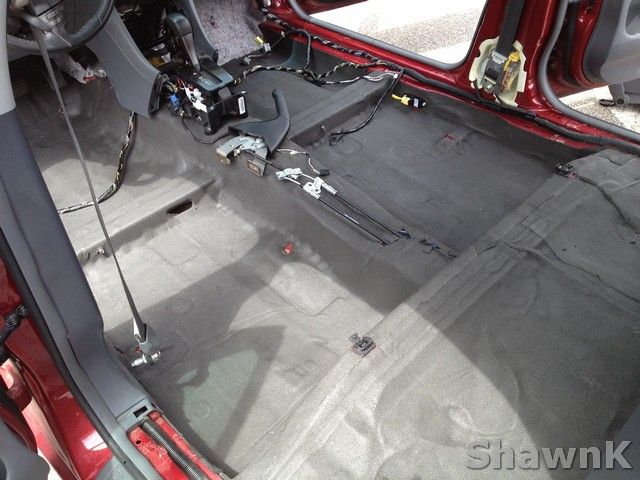
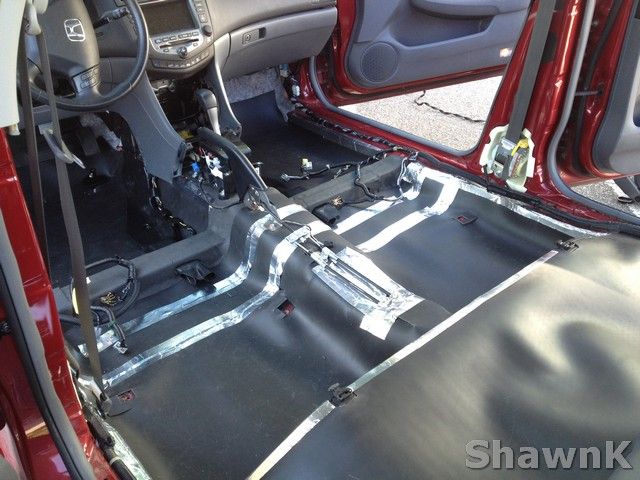
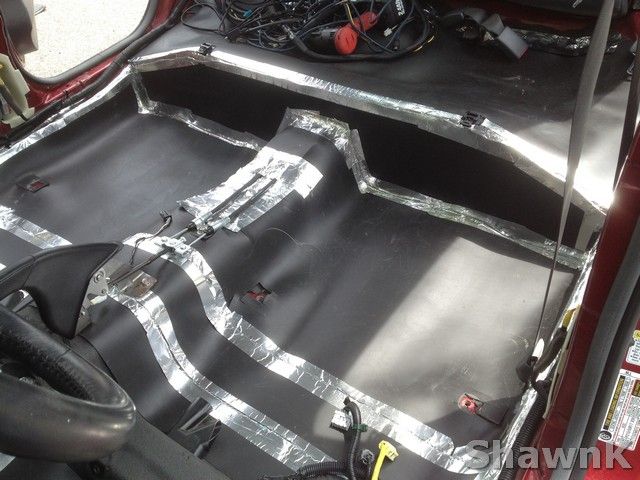
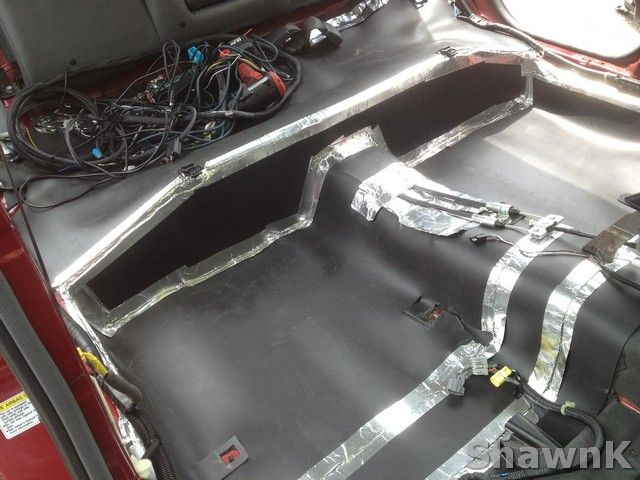
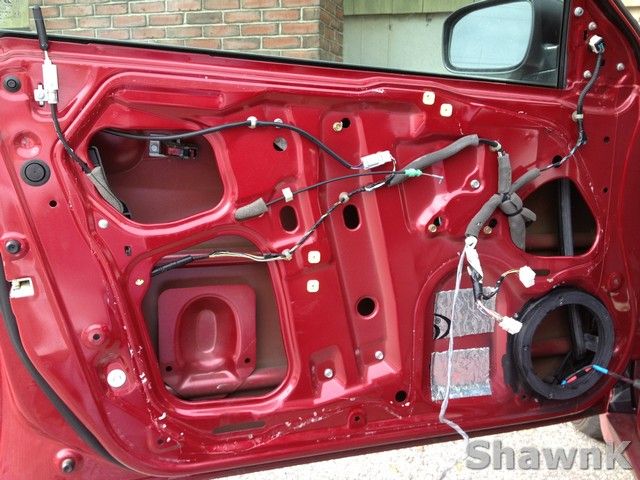
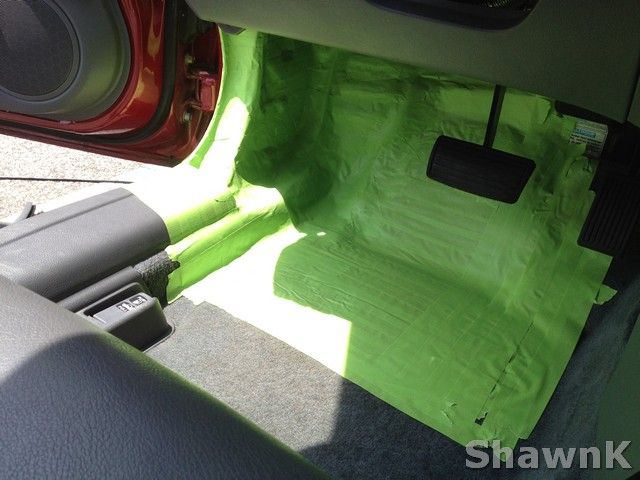
This build is is perhaps the first one for me where the priority is sound quality and reliability over everything else. You won't find a single painted fibergalss piece here, and carpet will prevail in the trunk..lol
Again, SQ was the major goal here but more along the lines of tonal balance and impressive dynamics. To be honest, I'm not heavily focussing on imaging :surprised: Now I do want a "decent" soundstage, but I'm not shooting for a "perfect" one. I have no intensions of competing or anything of the such. This build is strictly for me and my own personal desires for what I want out of a car stereo!
Gear list:
Alpine VPA-B222 OEM integration processor
Alpine DVA-5210 DVD player
Alpine PXA-H701 processor
Alpine TUA-TO20XM sat reciever
Alpine CHA-S624 6 disc changer w/optical
Alpine TME-M710 headrest monitors
Alpine F#1 tweets
Alpine F#1 5.25" midrange
Alpine F#1 7" midbass
2- JBL W12Gti-MKII (infinite baffle)
2- Phoenix Gold ZPA0.3 (restored)
2- Phoenix Gold ZPA0.5 (modified)
Phoenix Gold DD10 distribution center (customized)
Phoenix Gold Ti distribution blocks and fuse holders
Kinetik HC2000 (up front)
Kinetik HC1200 (out back)
So before we start, I first want to thank a couple buddies for their help.
Dan M. -Dan gave me some some much appreciated help with the metal fabrication that you will see later on in the thread. THANKS DAN!!
bigdwiz -BigD Thanks a bunch for your aid with the pics and general info regarding computers programs etc... THANKS BRO!!
Finally I apologize in advance for some of the poor quality pics. I am by no means a photographer, and frequently that shows..lol
Ok enough blabber. Let's see, where shall we start...
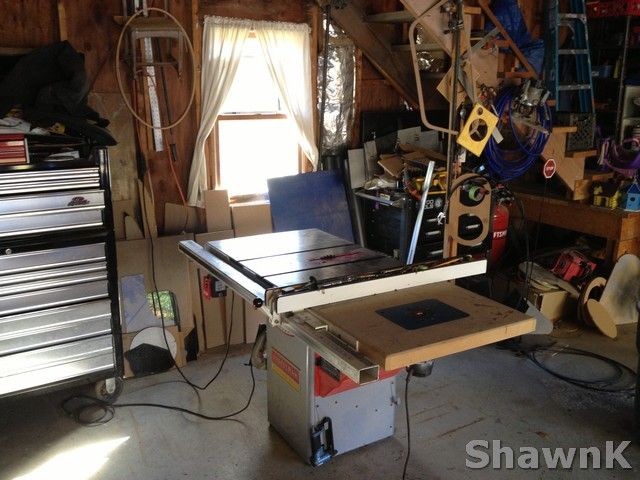
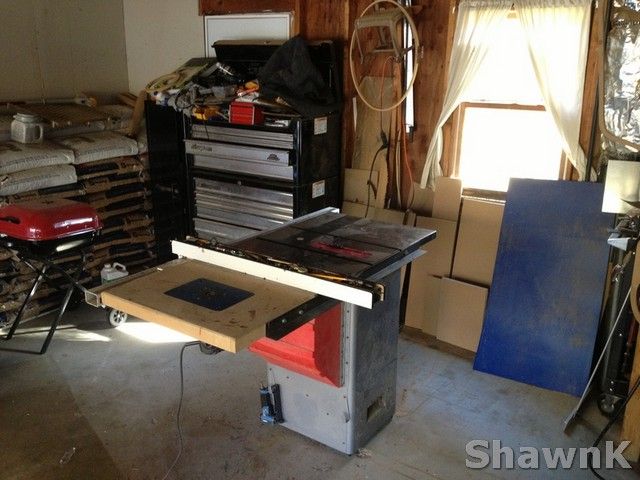
How about install loacations? First is where I do virtually ALL of my fabrication. This is at my relative's garage 8 miles away from my apartment and where I am able to store my tools. I have a whopping 12x12 area to work with. Now I'm not complaining, but it's far from an install bay.
![Image]()
![Image]()
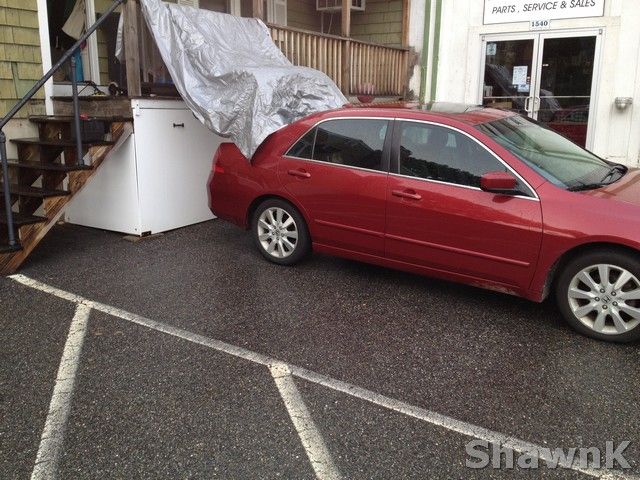
Next up... the parking lot of my apartment.. hey you got to do what you got to do right? lol
![Image]()
Not pictured.. yet..kitchen table, kitchen floor, and my buddy's shop where most of the metworking was done.
)This build is is perhaps the first one for me where the priority is sound quality and reliability over everything else. You won't find a single painted fibergalss piece here, and carpet will prevail in the trunk..lol
Again, SQ was the major goal here but more along the lines of tonal balance and impressive dynamics. To be honest, I'm not heavily focussing on imaging :surprised: Now I do want a "decent" soundstage, but I'm not shooting for a "perfect" one. I have no intensions of competing or anything of the such. This build is strictly for me and my own personal desires for what I want out of a car stereo!
Gear list:
Alpine VPA-B222 OEM integration processor
Alpine DVA-5210 DVD player
Alpine PXA-H701 processor
Alpine TUA-TO20XM sat reciever
Alpine CHA-S624 6 disc changer w/optical
Alpine TME-M710 headrest monitors
Alpine F#1 tweets
Alpine F#1 5.25" midrange
Alpine F#1 7" midbass
2- JBL W12Gti-MKII (infinite baffle)
2- Phoenix Gold ZPA0.3 (restored)
2- Phoenix Gold ZPA0.5 (modified)
Phoenix Gold DD10 distribution center (customized)
Phoenix Gold Ti distribution blocks and fuse holders
Kinetik HC2000 (up front)
Kinetik HC1200 (out back)
So before we start, I first want to thank a couple buddies for their help.
Dan M. -Dan gave me some some much appreciated help with the metal fabrication that you will see later on in the thread. THANKS DAN!!
bigdwiz -BigD Thanks a bunch for your aid with the pics and general info regarding computers programs etc... THANKS BRO!!
Finally I apologize in advance for some of the poor quality pics. I am by no means a photographer, and frequently that shows..lol
Ok enough blabber. Let's see, where shall we start...
How about install loacations? First is where I do virtually ALL of my fabrication. This is at my relative's garage 8 miles away from my apartment and where I am able to store my tools. I have a whopping 12x12 area to work with. Now I'm not complaining, but it's far from an install bay.
Next up... the parking lot of my apartment.. hey you got to do what you got to do right? lol
Not pictured.. yet..kitchen table, kitchen floor, and my buddy's shop where most of the metworking was done.